
Baking (& eating) cakes are so fun, right? Sometimes I am less about the actual baking & more about the decorating. That is exactly where this Candy Cone comes in. 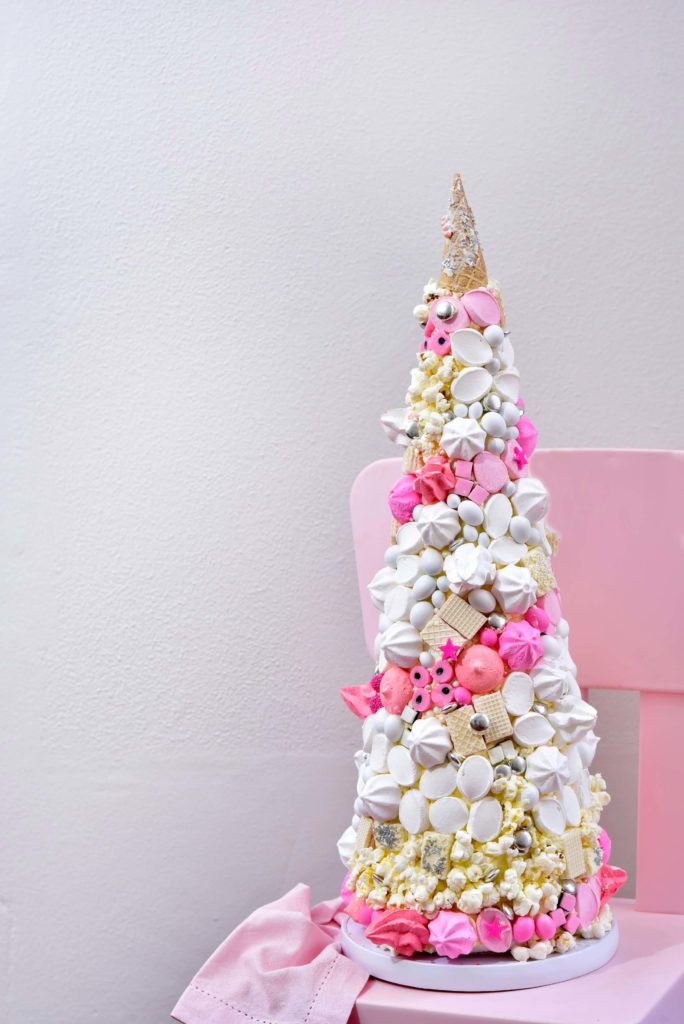
This ‘cake’ is guaranteed to put smile on your face! It looks great, it is fun to assemble & can be a lovely activity to do with kids. You just have to decide if you want it to look Pinterest perfect or not. If you get the kiddies in your life involved & go wild with the colours, you will end up with a Candy Cone that looks a lot like a Xmas tree which could be fun too!
It is not hard to put together, but I’d recommend that you read my tips below. Also, for a really aesthetic Candy Cone, you will have to do some planning & designing. I decided to make my pink ‘candy band’ swirls around the cone & then filled in the other sections with white sweets & treats.
- 125g Butter
- 200g Sifted Icing
- A splash of milk
- Gel food colouring that will go with your colour scheme, optional
- A polystyrene cone in a size of your choice (available from most craft stores; I got mine from Her-Annies in Centurion)
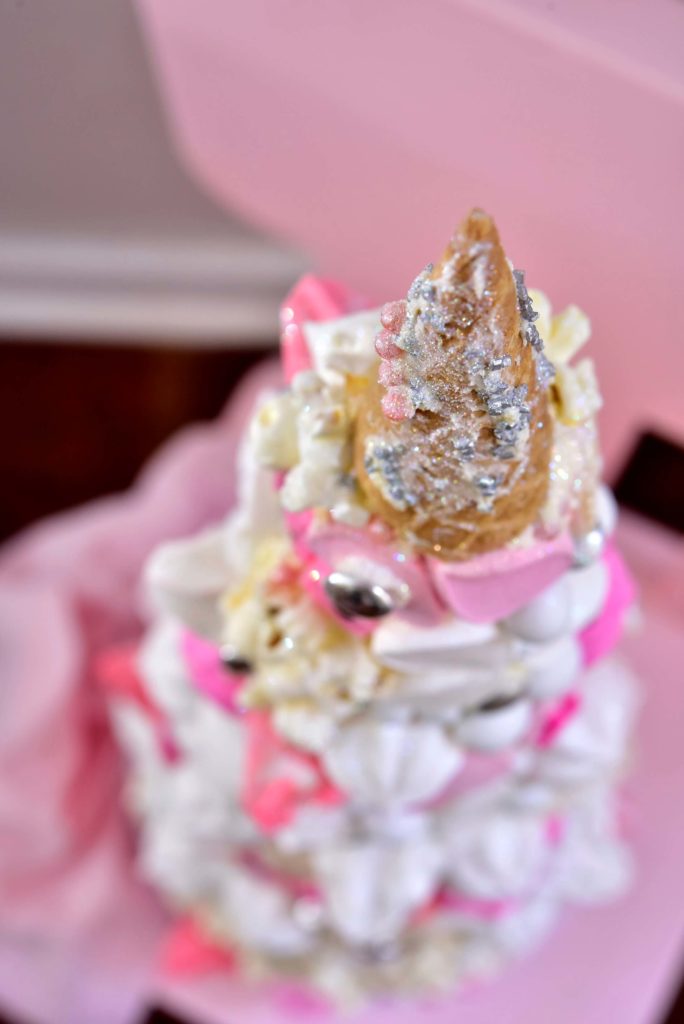
- A mini sugar cone for the very top of the cone
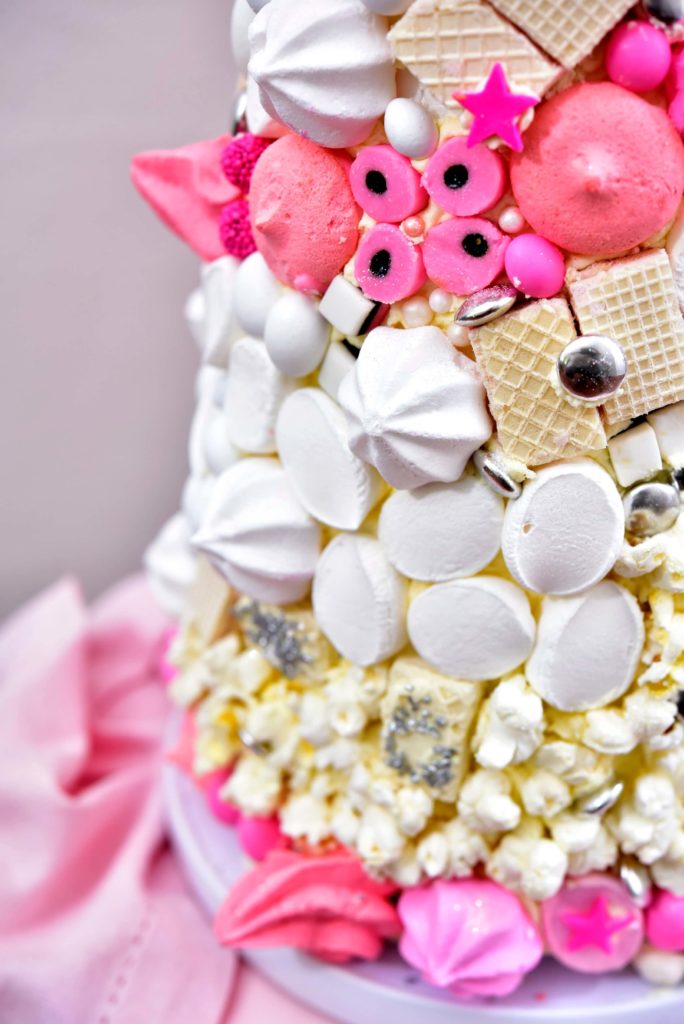
- Sweets & treats in your chosen colours (like Liquorice All Sorts, marshmallows, mini meringues, popcorn, macaroons, wafer biscuits, Smarties, mini doughnuts)
- Toothpicks
- Sprinkles in your colours of choice – I used a variety of the Nicoletta sprinkles
- Edible glitter
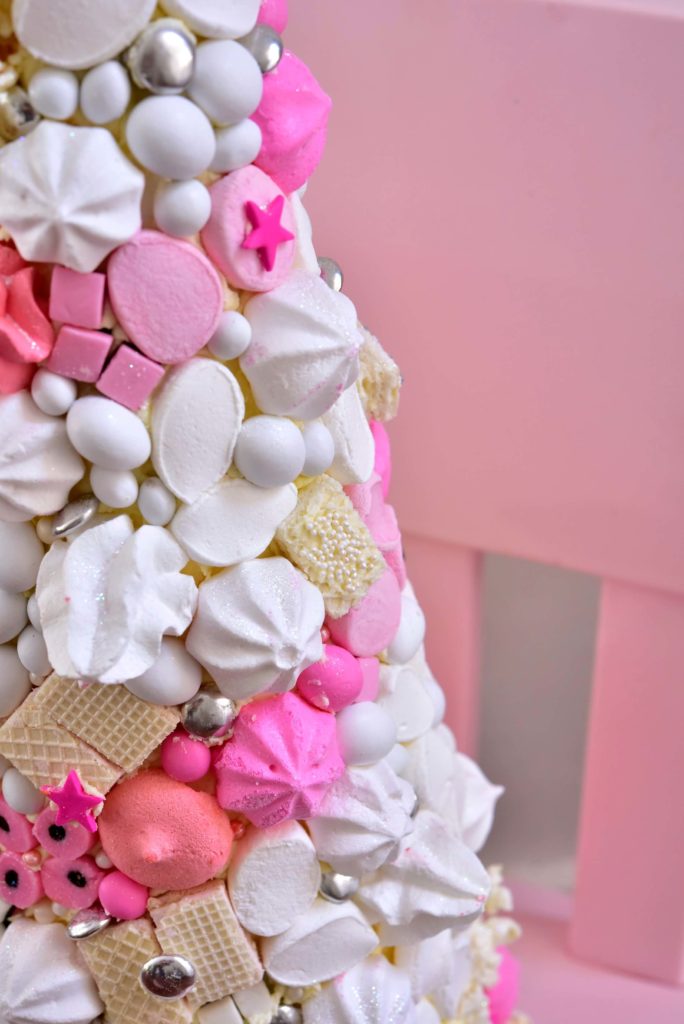
Fill in all the tiny gaps by adding silver balls or silver chocolate buttons in the gaps. Add some final touches by sprinkling your candy cone with edible glitter.
Try it for your next birthday party or for a special event! You’ll love it.
Yolandi ♥
Ps. Have you tried this purple ombre cake or my Rice Krispies no-bake cake?
Images: Andrea Caldwell photography for aZestyLife