
I’m no pastry chef. Far from it. But, I love to bake. And I love cake. (Who doesn’t?)
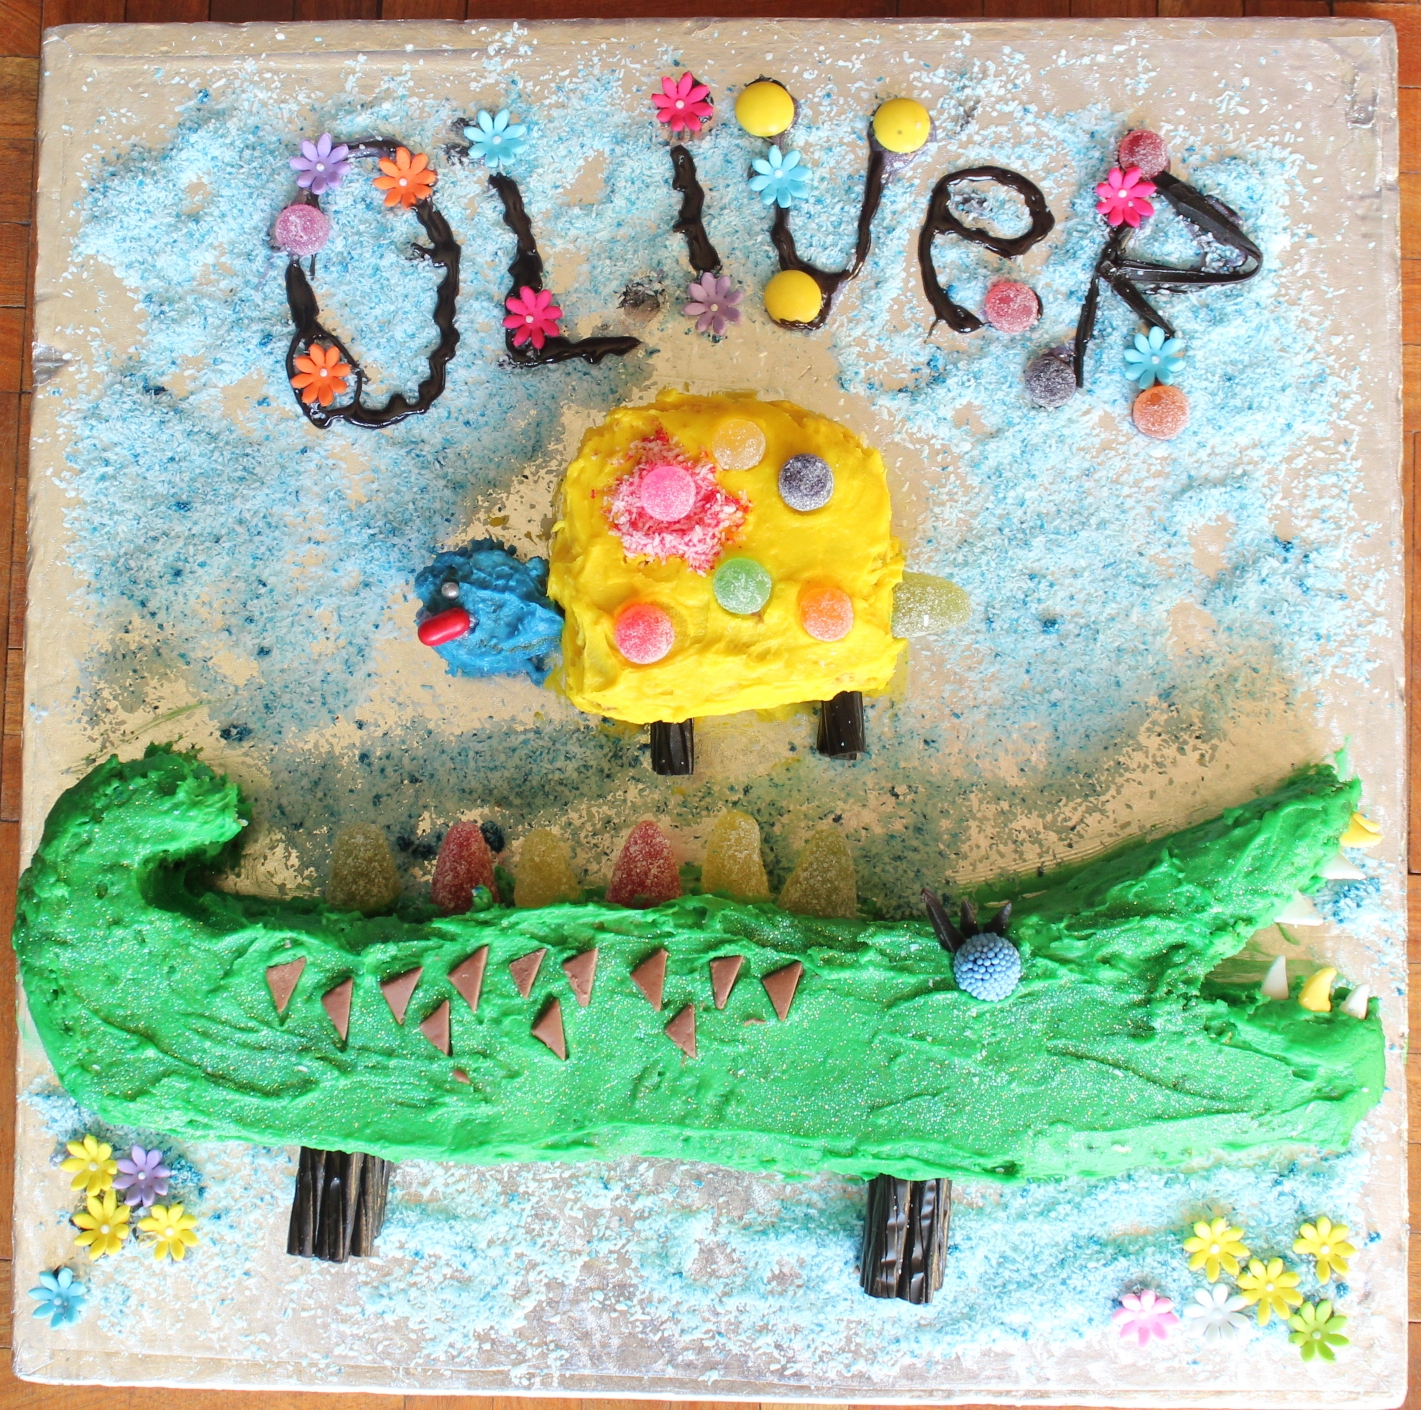
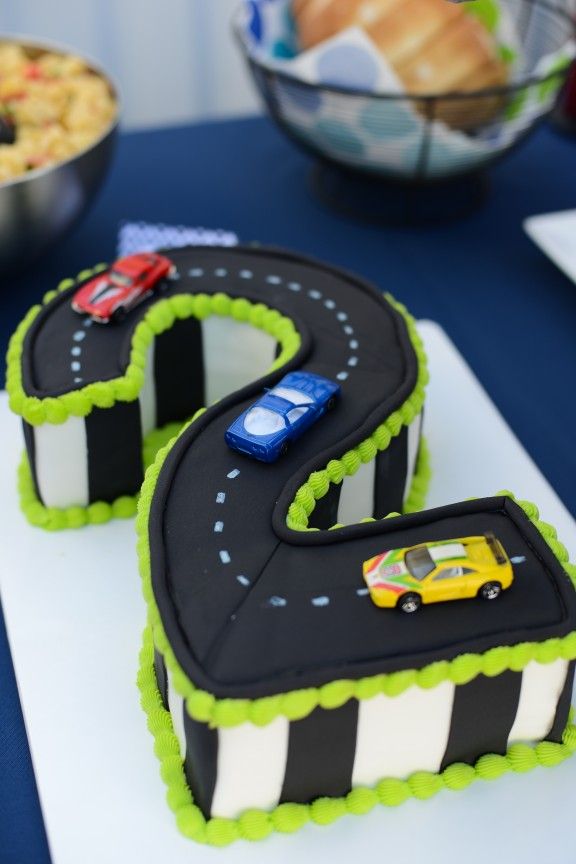
One of my favourite things to bake is themed kiddie cakes. My cakes don’t ever look like works of art, but they are such fun to make & the sheer joy on those tiny faces are just priceless. In fact, I’ve baked some fun themed cakes for a few adults too & they were equally delighted.
The dilemma is that every time I make a themed cake, I realise how unbelievably long it can take. All moms will know that when it comes to kiddies cakes, time is of the essence. You either have to mentally prepare yourself for the gigantic bill that comes with a perfect cake baked by a professional…
Or you are likely to pull an all-nighter, which is exactly why you need clever ways of making one of these cakes in the shortest amount of time. Over the years I have found some shortcuts that can make baking & decorating kiddo cakes so much easier & more fun. I’d love to share them with you today:
- Cake mix is the bomb. No flops. Quick. Easy. Need I say more? Ok then. Added bonus: you don’t have the wastage of left over ingredients that will go off. The cake mixes from Snowflake & Ina Paarman are all fab & highly recommended.
- Opt for ready-made, frozen sponge cakes. Of course you can bake & freeze your own sponge too, but luckily there are branches of Deeghuys in almost every big town & city in SA where you can pop in for a frozen one. Truthfully, I am not a huge fan of previously frozen cake, but it certainly makes life much easier.
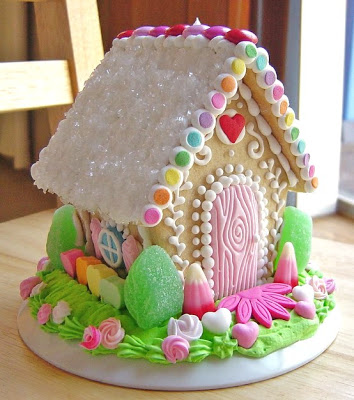
- Build an ‘eat-off cake’. Kids often love picking all the sweets & icing off & then leave the cake altogether. So, this decoration-only-cake is genius. Simply construct a little house or another simple design out of cardboard & assemble with tape & staples. Now plaster with icing & decorate. Get the littles to help with the decoration – they will be ecstatic.
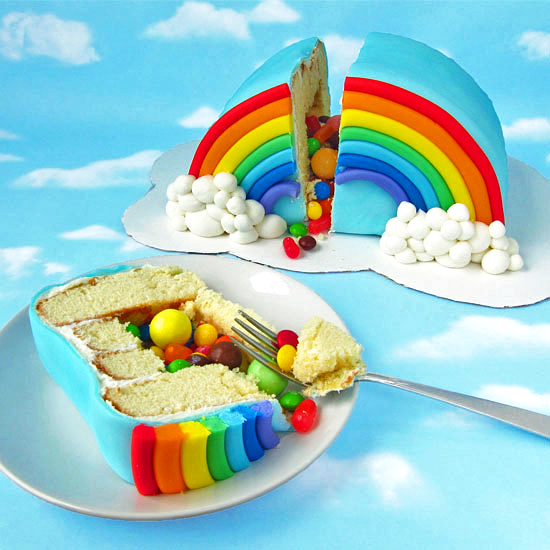
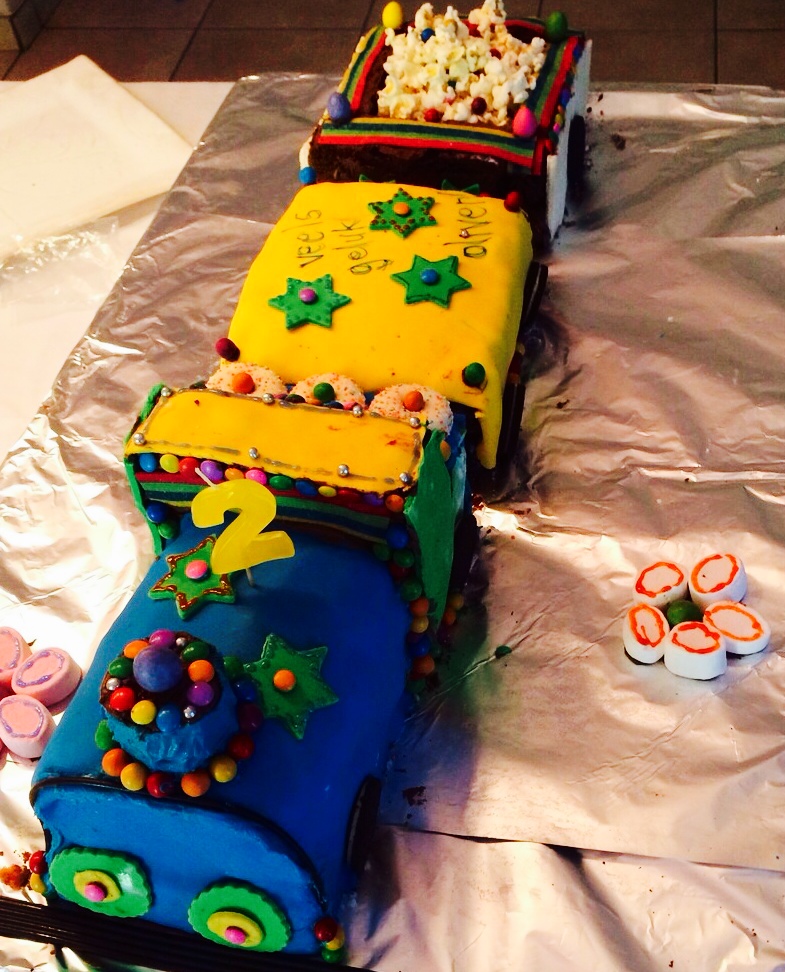
- Bulk up on the yummy stuff (ie sweets & treats). Piñata cakes with centres full of sweets are such fun & will certainly surprise young & old. I also love the idea of using crisps / popcorn to bulk up certain areas of the cake (for instance: we used some popcorn inside of Oliver’s train cake.)
- Make & freeze your icing. Until recently, it did not occur to me that this can be done, but it honestly makes a huge difference!
- Hire a cake tin. Many baking & party shops rent out amazing tins these days. They often even sell beautiful fondant pictures. Phew, now you don’t have to butcher the cake with a knife & plastering it with loads of icing.
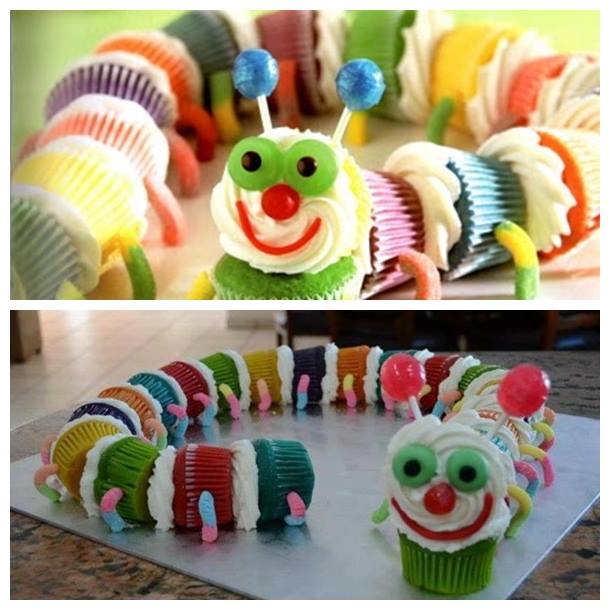
- Get clever with cupcakes. Many ‘big cakes’ are actually made up of cupcakes. This is so clever & also reduces the risk of trying to ice one big masterpiece in one go.
- Make your own – super easy – ice cream cake. I cannot claim this brilliant plan as own. It is the genius idea of my dear friend Christa.You can either make your own 3D ice cream cake OR make a flatter cake. She explains:
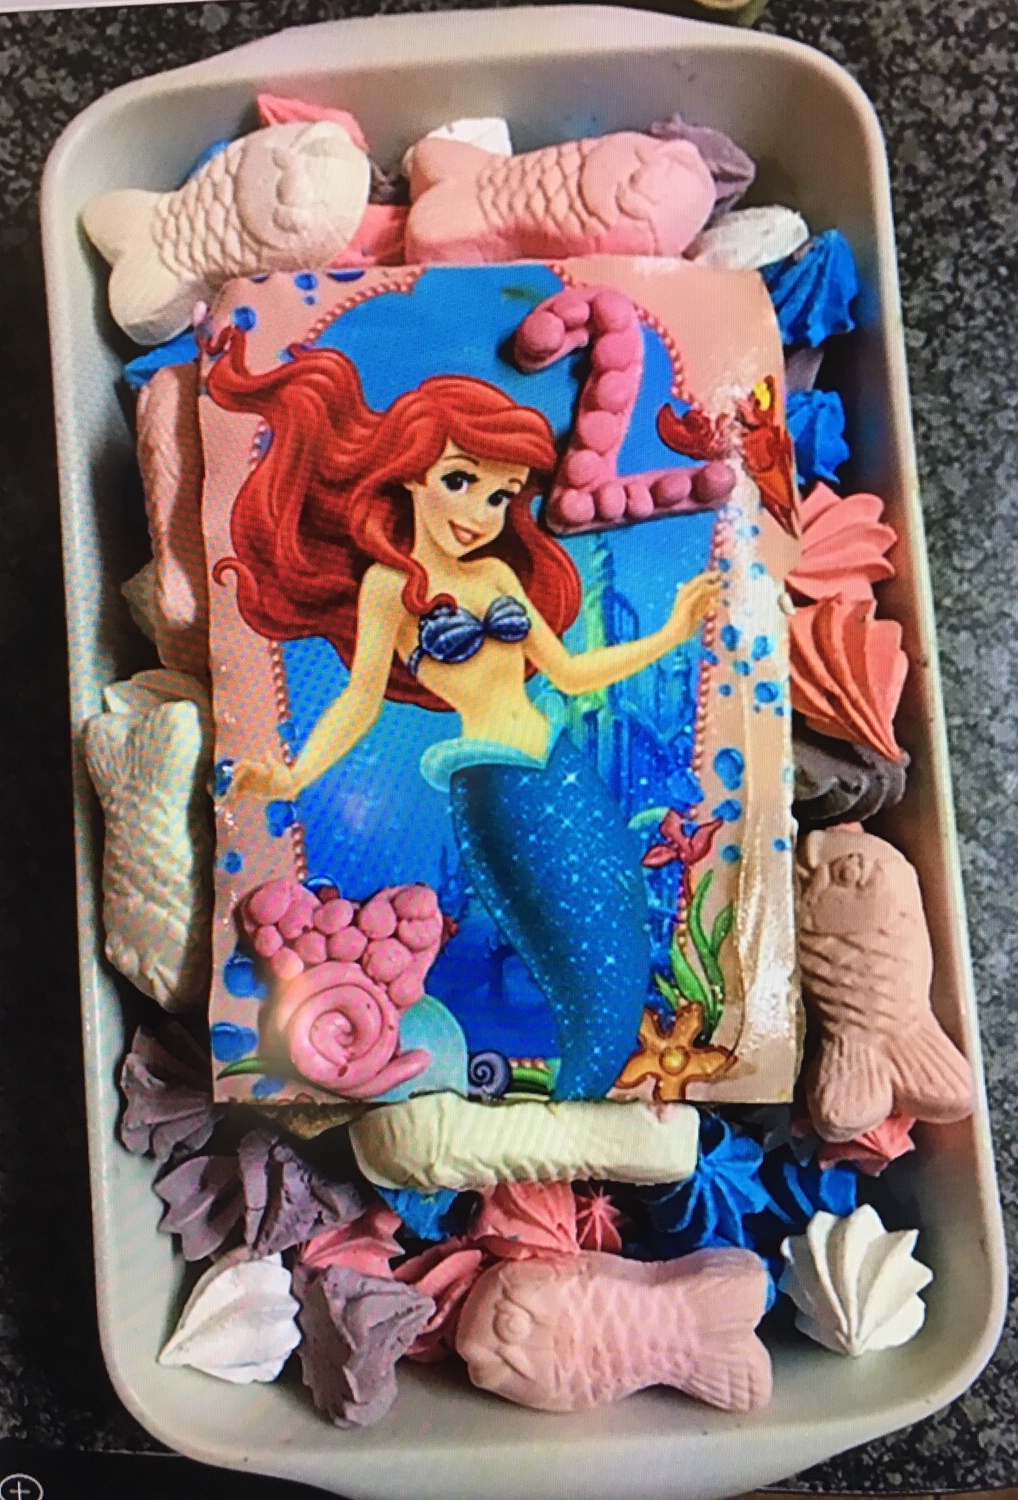
- For a ‘flat’ version, simply pop your entire tub of ice cream into a dish. Place back intp the freezer. Before serving, simply remove the ice cream from the freezer, add an edible pre-printed fondant icing picture of your choice (for sale or available for pre-order at places like Bakers Bin & Milky Lane). Add some 3D with sweets, fondant or numbers.
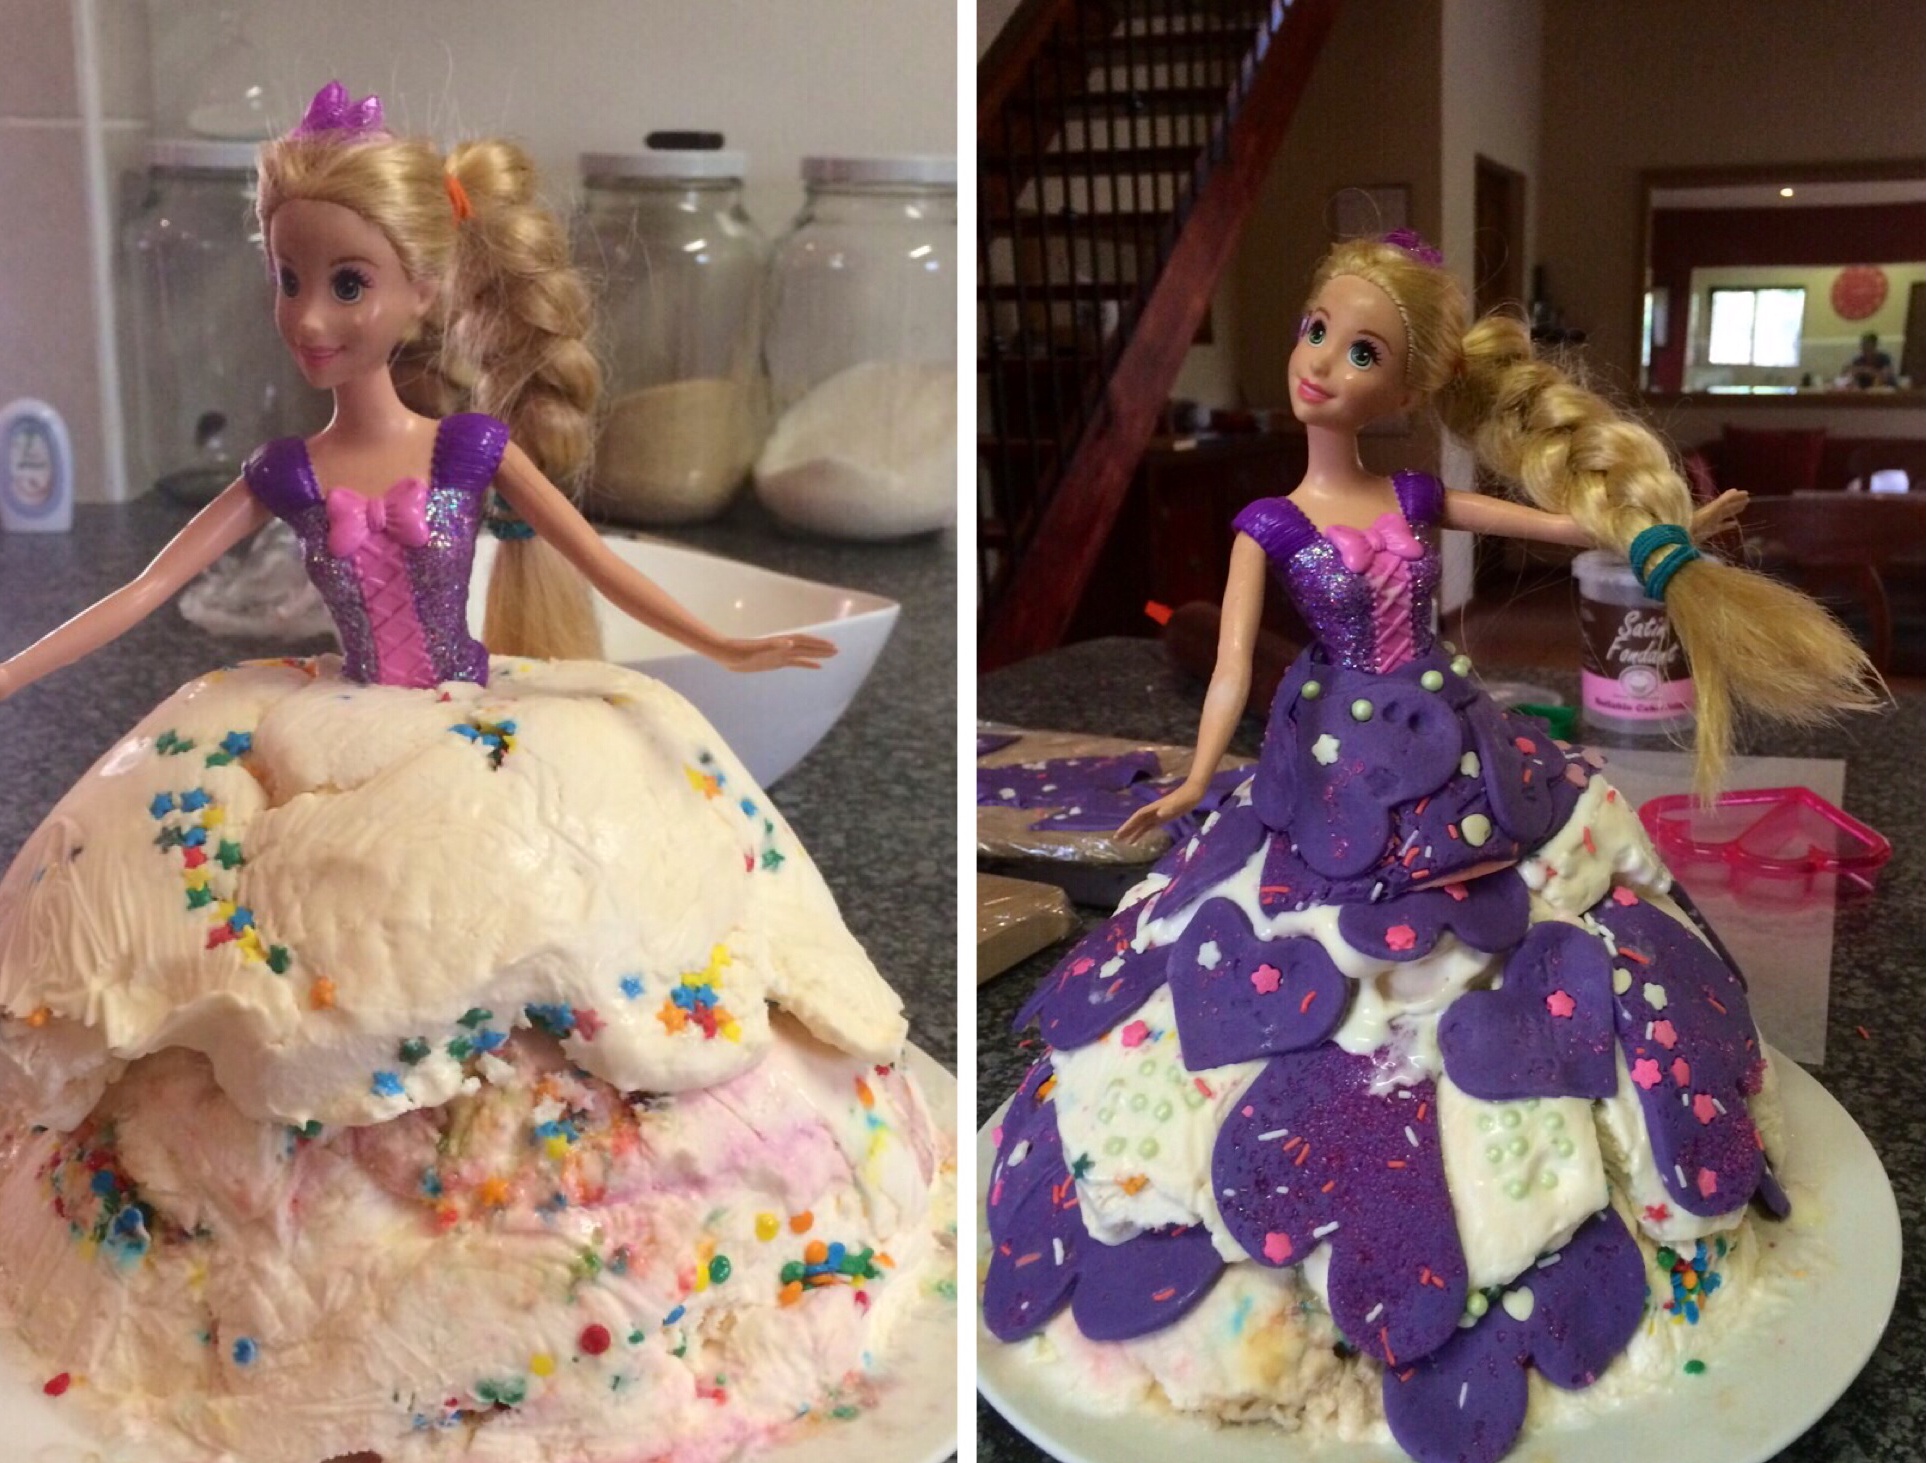
- For a 3D version (like a princess-with-a-dress-cake). About two days before, place cling wrap in a salad bowl with the desired shape; mix hundreds & thousands (or other sweets or edible patterns) into a 2 litre tub of vanilla ice cream. Now spoon it into the bowl. Freeze again. On the day of the party, tip over, pull away your cling wrap & discard; then freeze again. On the morning of the party, push the doll into the ice cream shape & pop back in the freezer. Then finally – just before the ‘reveal’ – take out the ice cream cake, decorate the ice cream ‘dress’ with fondant shapes & sweets! [Tip: some dolls are quite tall, so plan for this otherwise her entire bottom might not be covered with ice cream.]
Do you have any clever shortcuts when it comes to kiddie cakes? Please share.
Happy baking.
Yolandi ♥
What F.U.N.!!!!
🙂