
I am so excited about this post, I can hardly keep my composure! It is not December yet, which means you still have some time left to get your gift shopping in order, plan your menu & decor & get yourself organised.
If, like me, you love the concept of an advent calendar, then you better hurry, because the days until 1 December are running out! You can buy one to fill with chocolates or some other treats. Or you can make your own! Which brings me to the exciting part which is this step-by-step advent calendar. This project was lovingly contributed by Eleanor North. What excites me most about this post, is that it is sewn. Something really awesome to have on aZestyLife, because (sadly) I can’t sew.
So yay! & thanx El. Her & I both share this crazy excitement for Christmas, preparations & crafting. Whoohoo!
Step-by-step: Sewing Your Very Own Fabric Advent Calendar
Supplies:
- 1m main fabric
- 1m lining fabric (or ½m each of three different fabrics)
- 3m ribbon
- 5m trim (lace, mini pom-poms, ric rac…)
- Matching thread
- Number stencils & black fabric pen
- Supplies for displaying your calendar (see step 9 below for suggestions)
- Sewing machine
These instructions are for one little pocket – I did mine assembly-line style, so I did each step for every pocket before moving on to the next step.
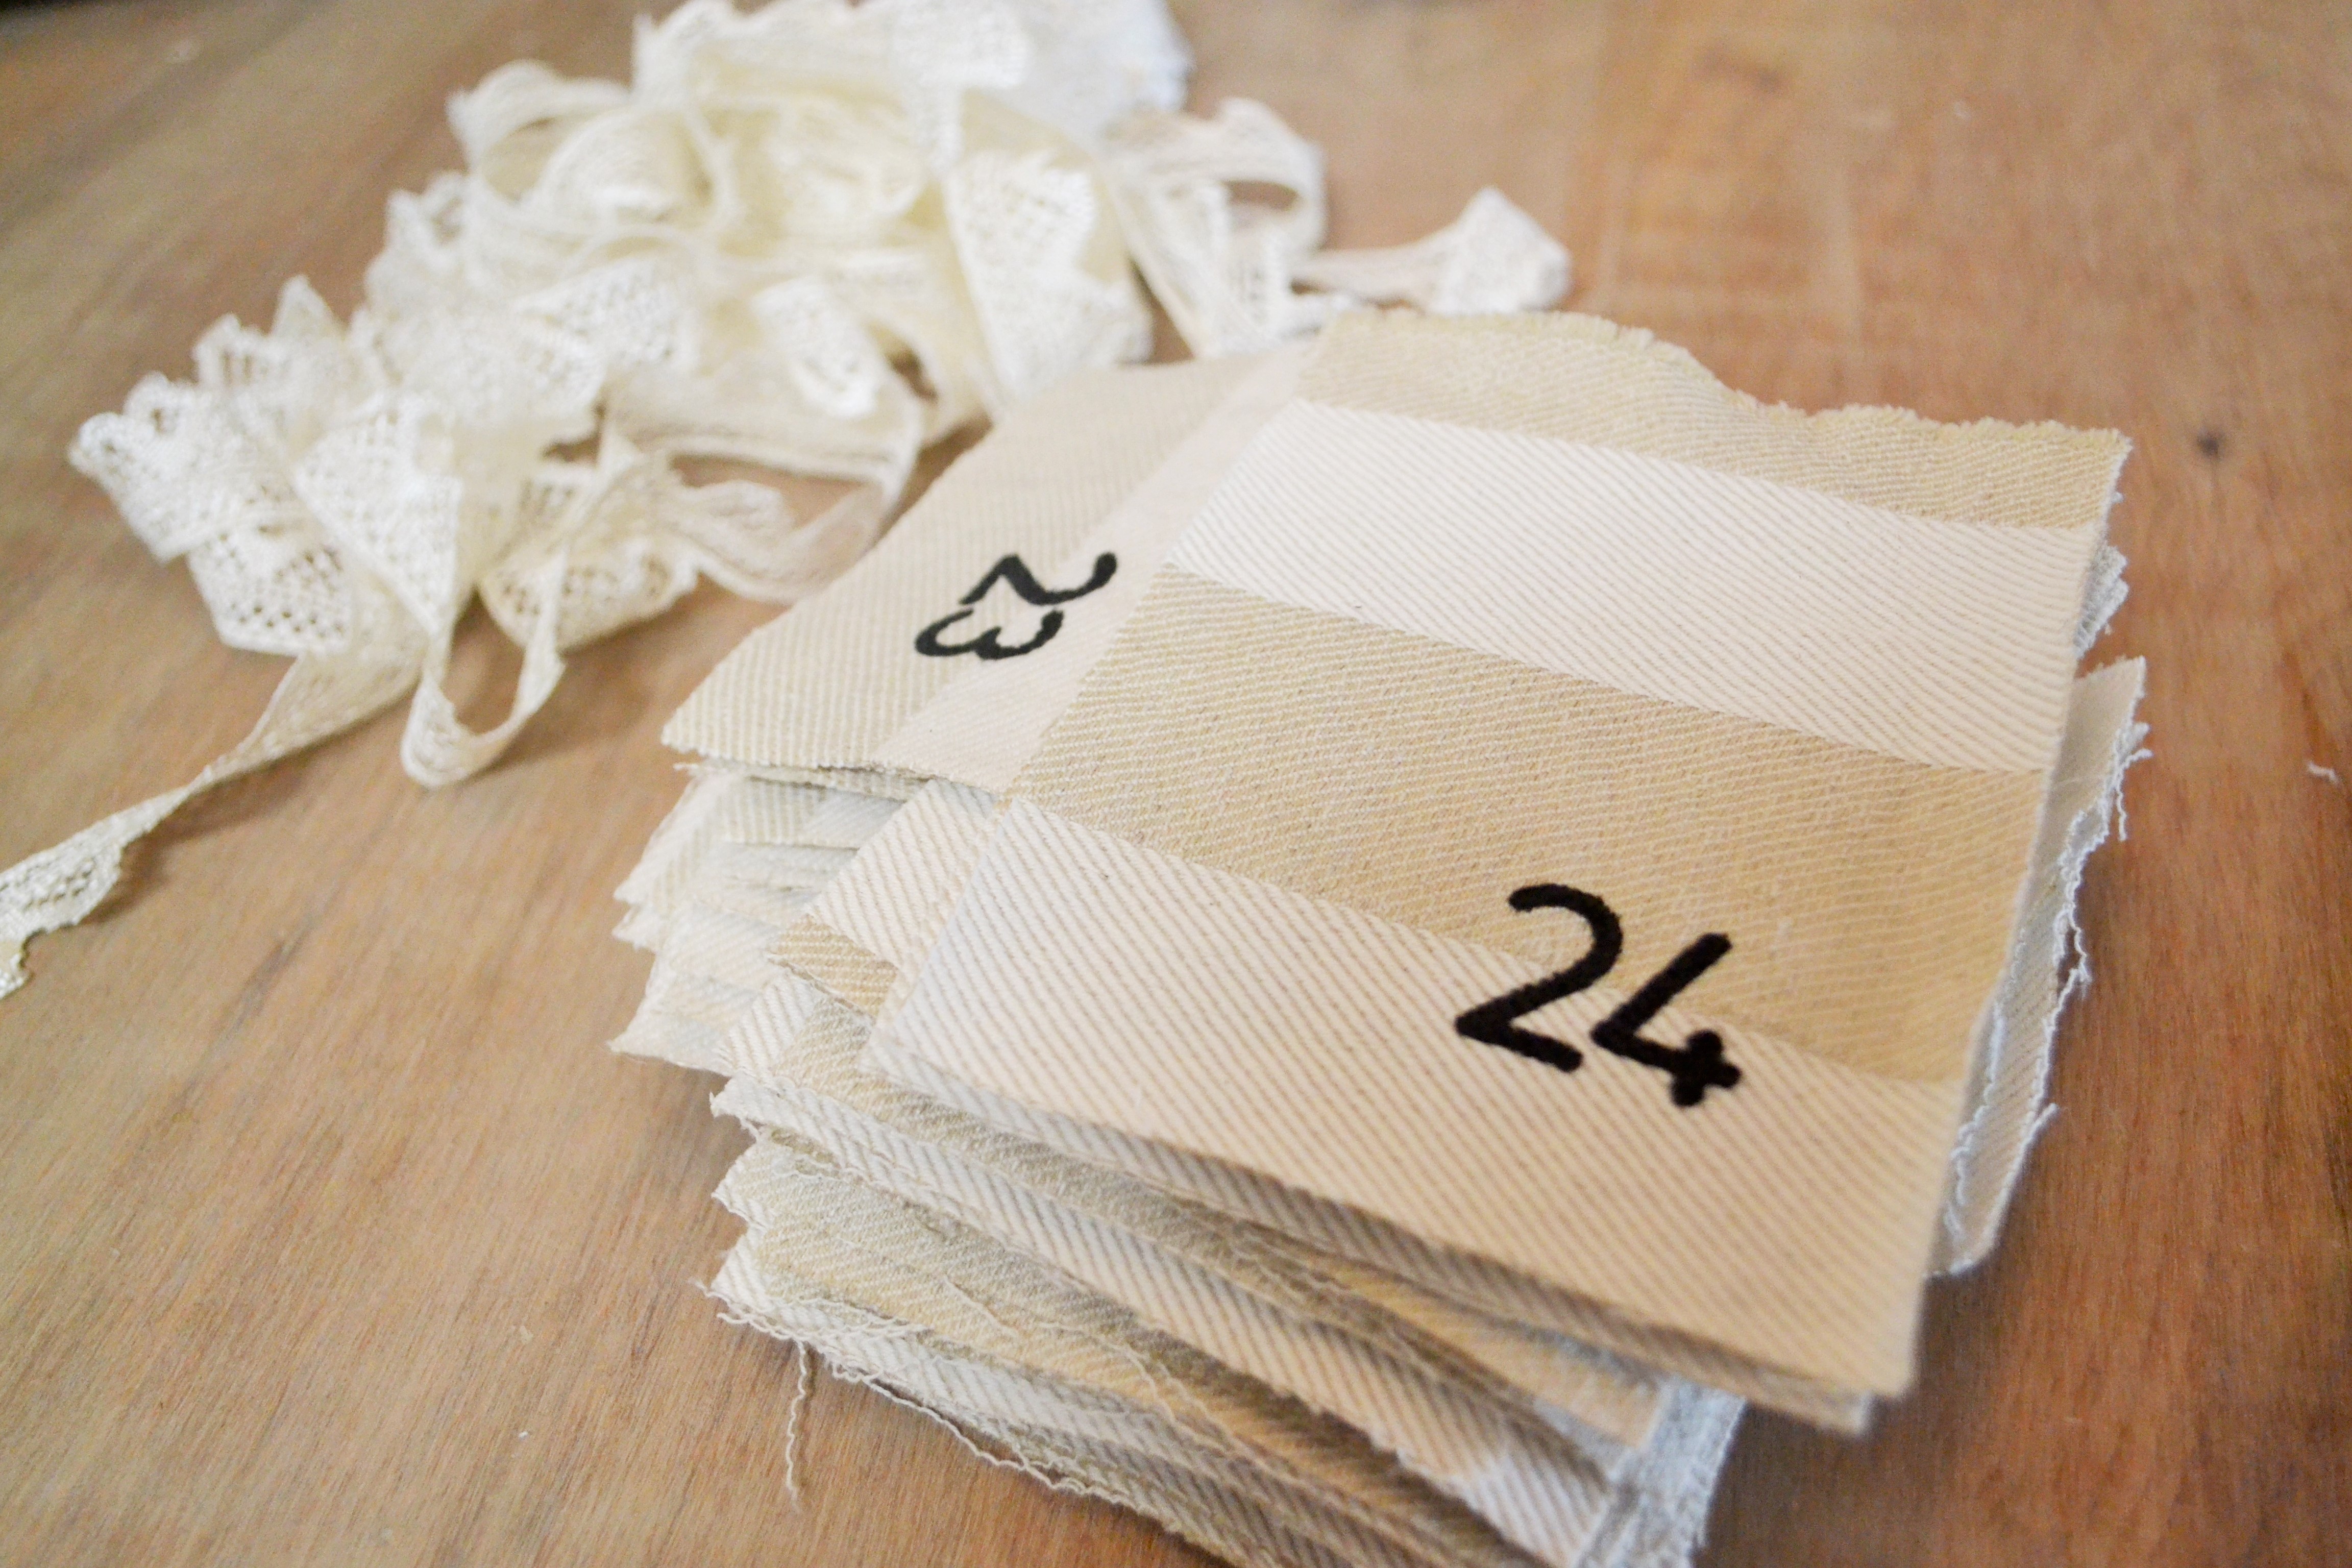
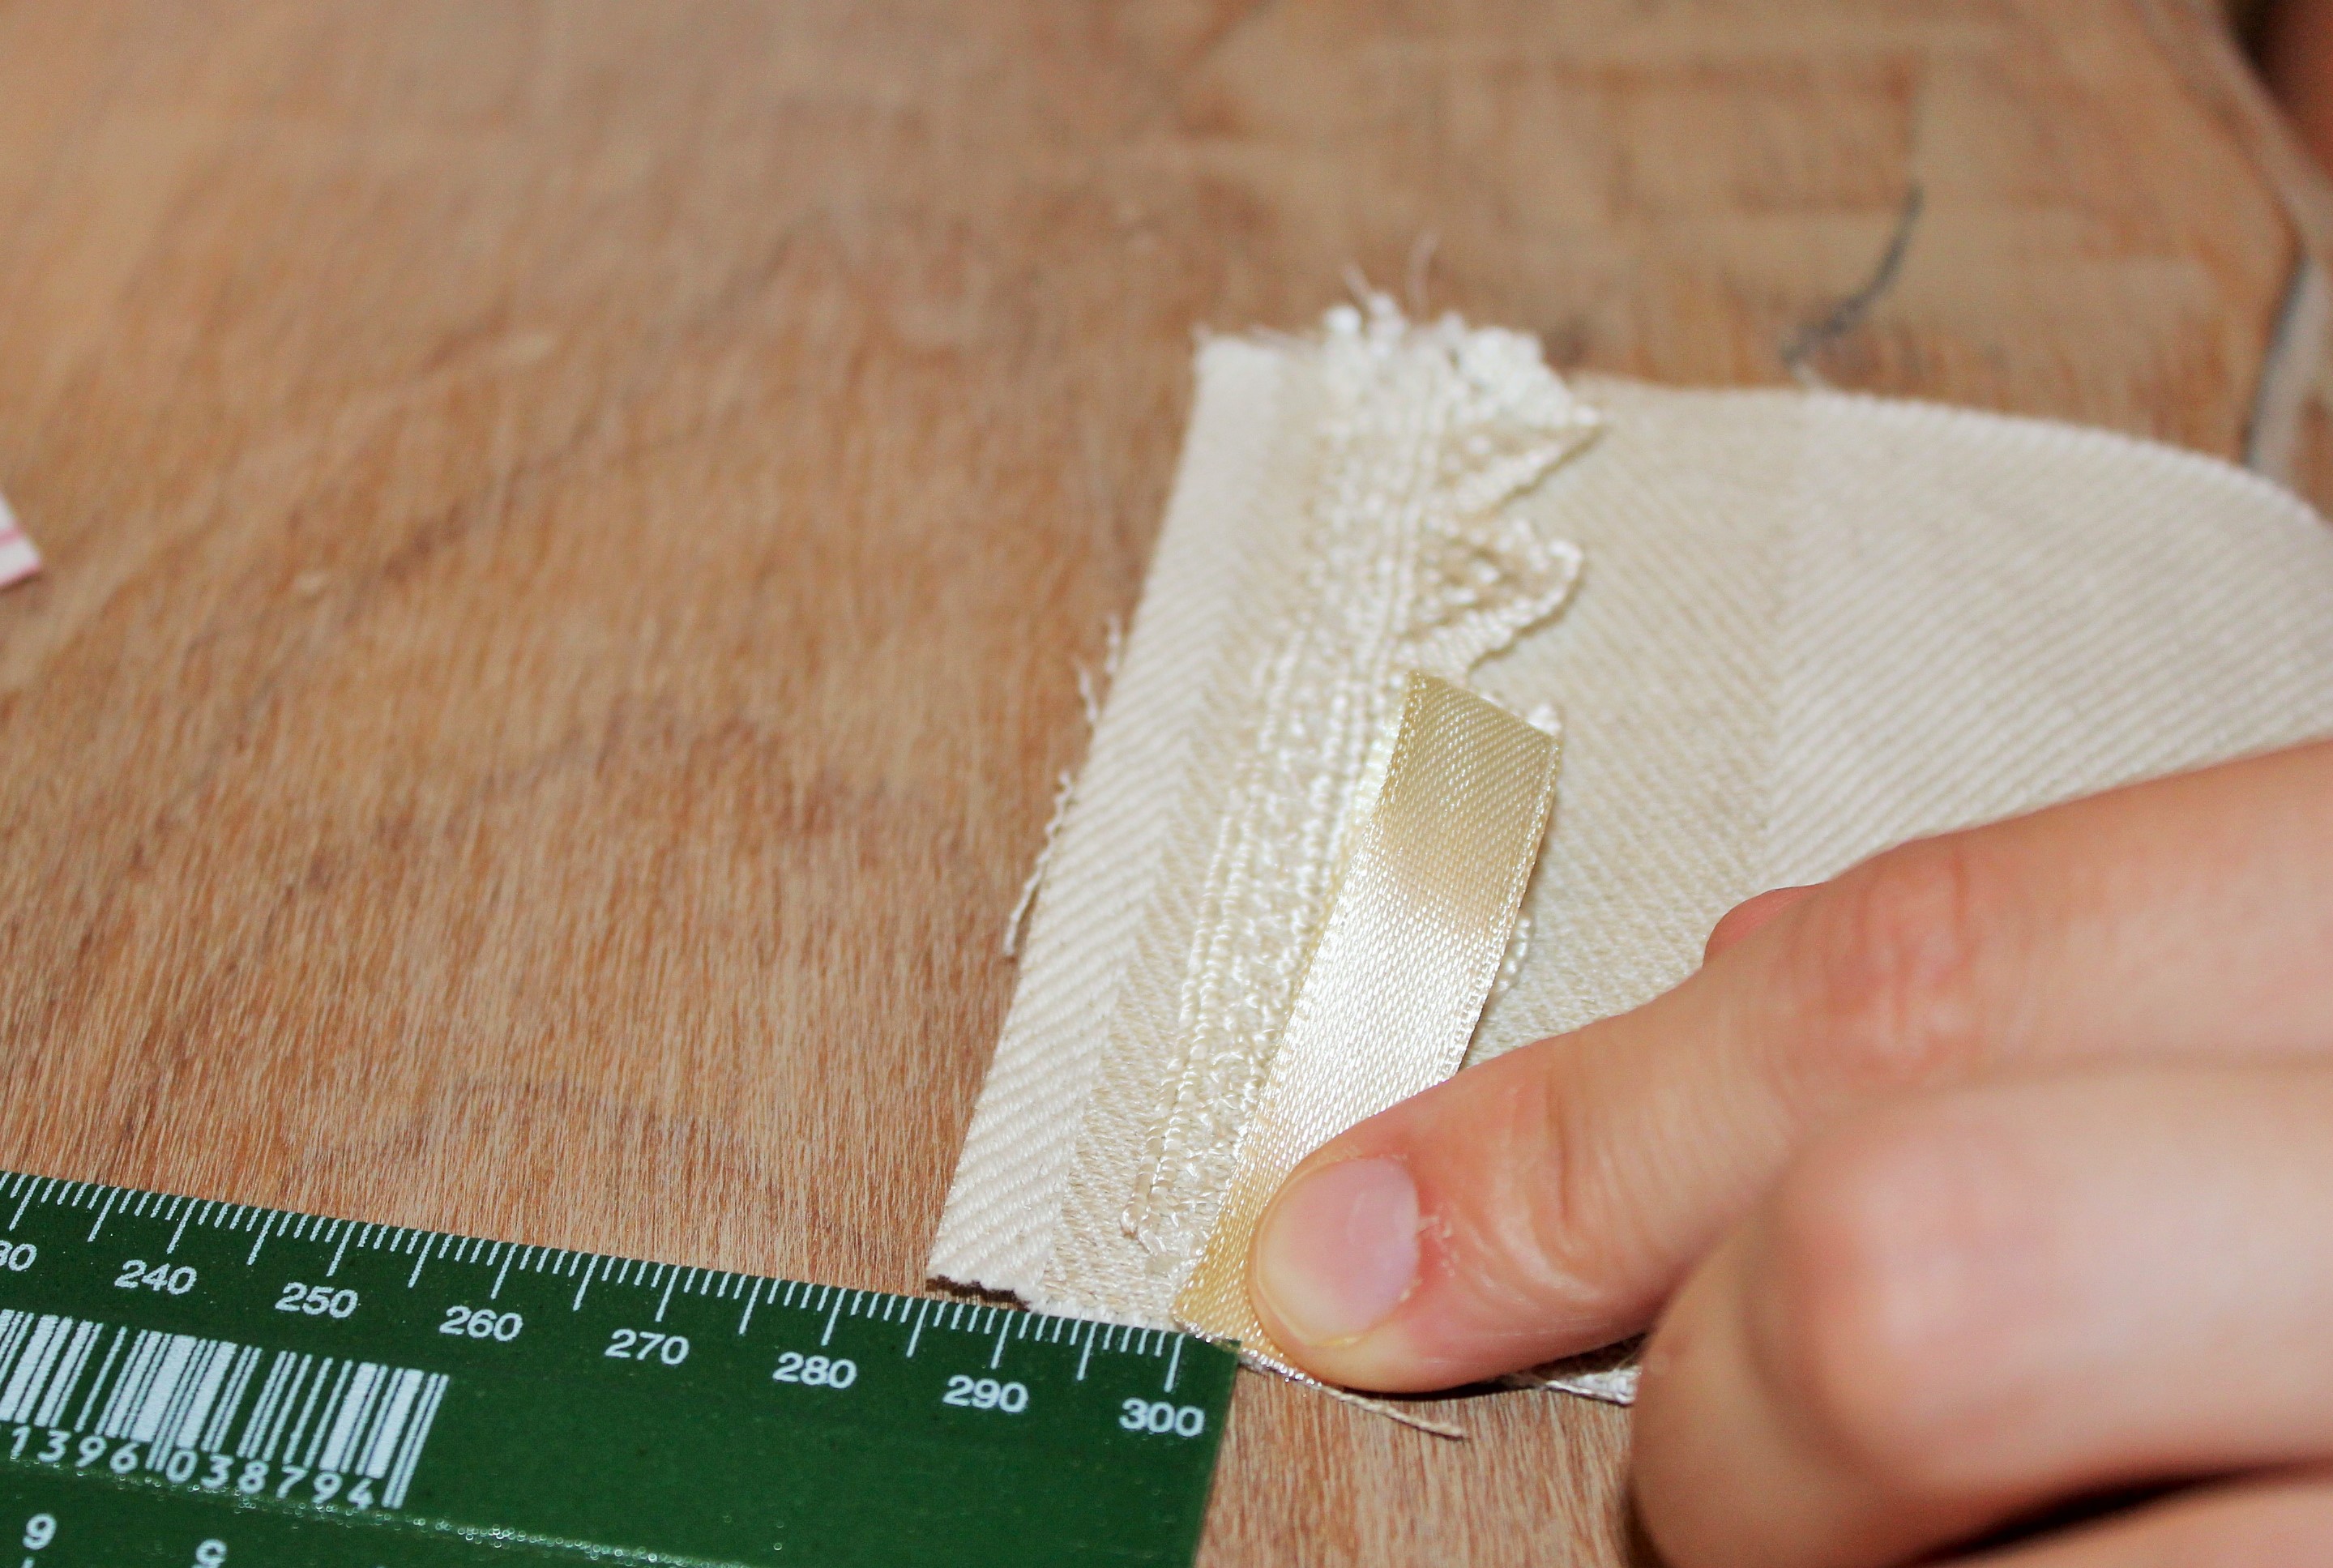
1. Cut two rectangles of main fabric, & two of lining fabric. The size should be 9.5x13cm (15x18cm for number 25). Cut a 10cm length of ribbon, and two 9.5cm lengths of trim (e.g. lace) (2x15cm for number 25).
2. Stencil your number 2cm in from the right hand side and 2cm up from the bottom of one of your main fabric pieces (3cm in and 3cm up for number 25).
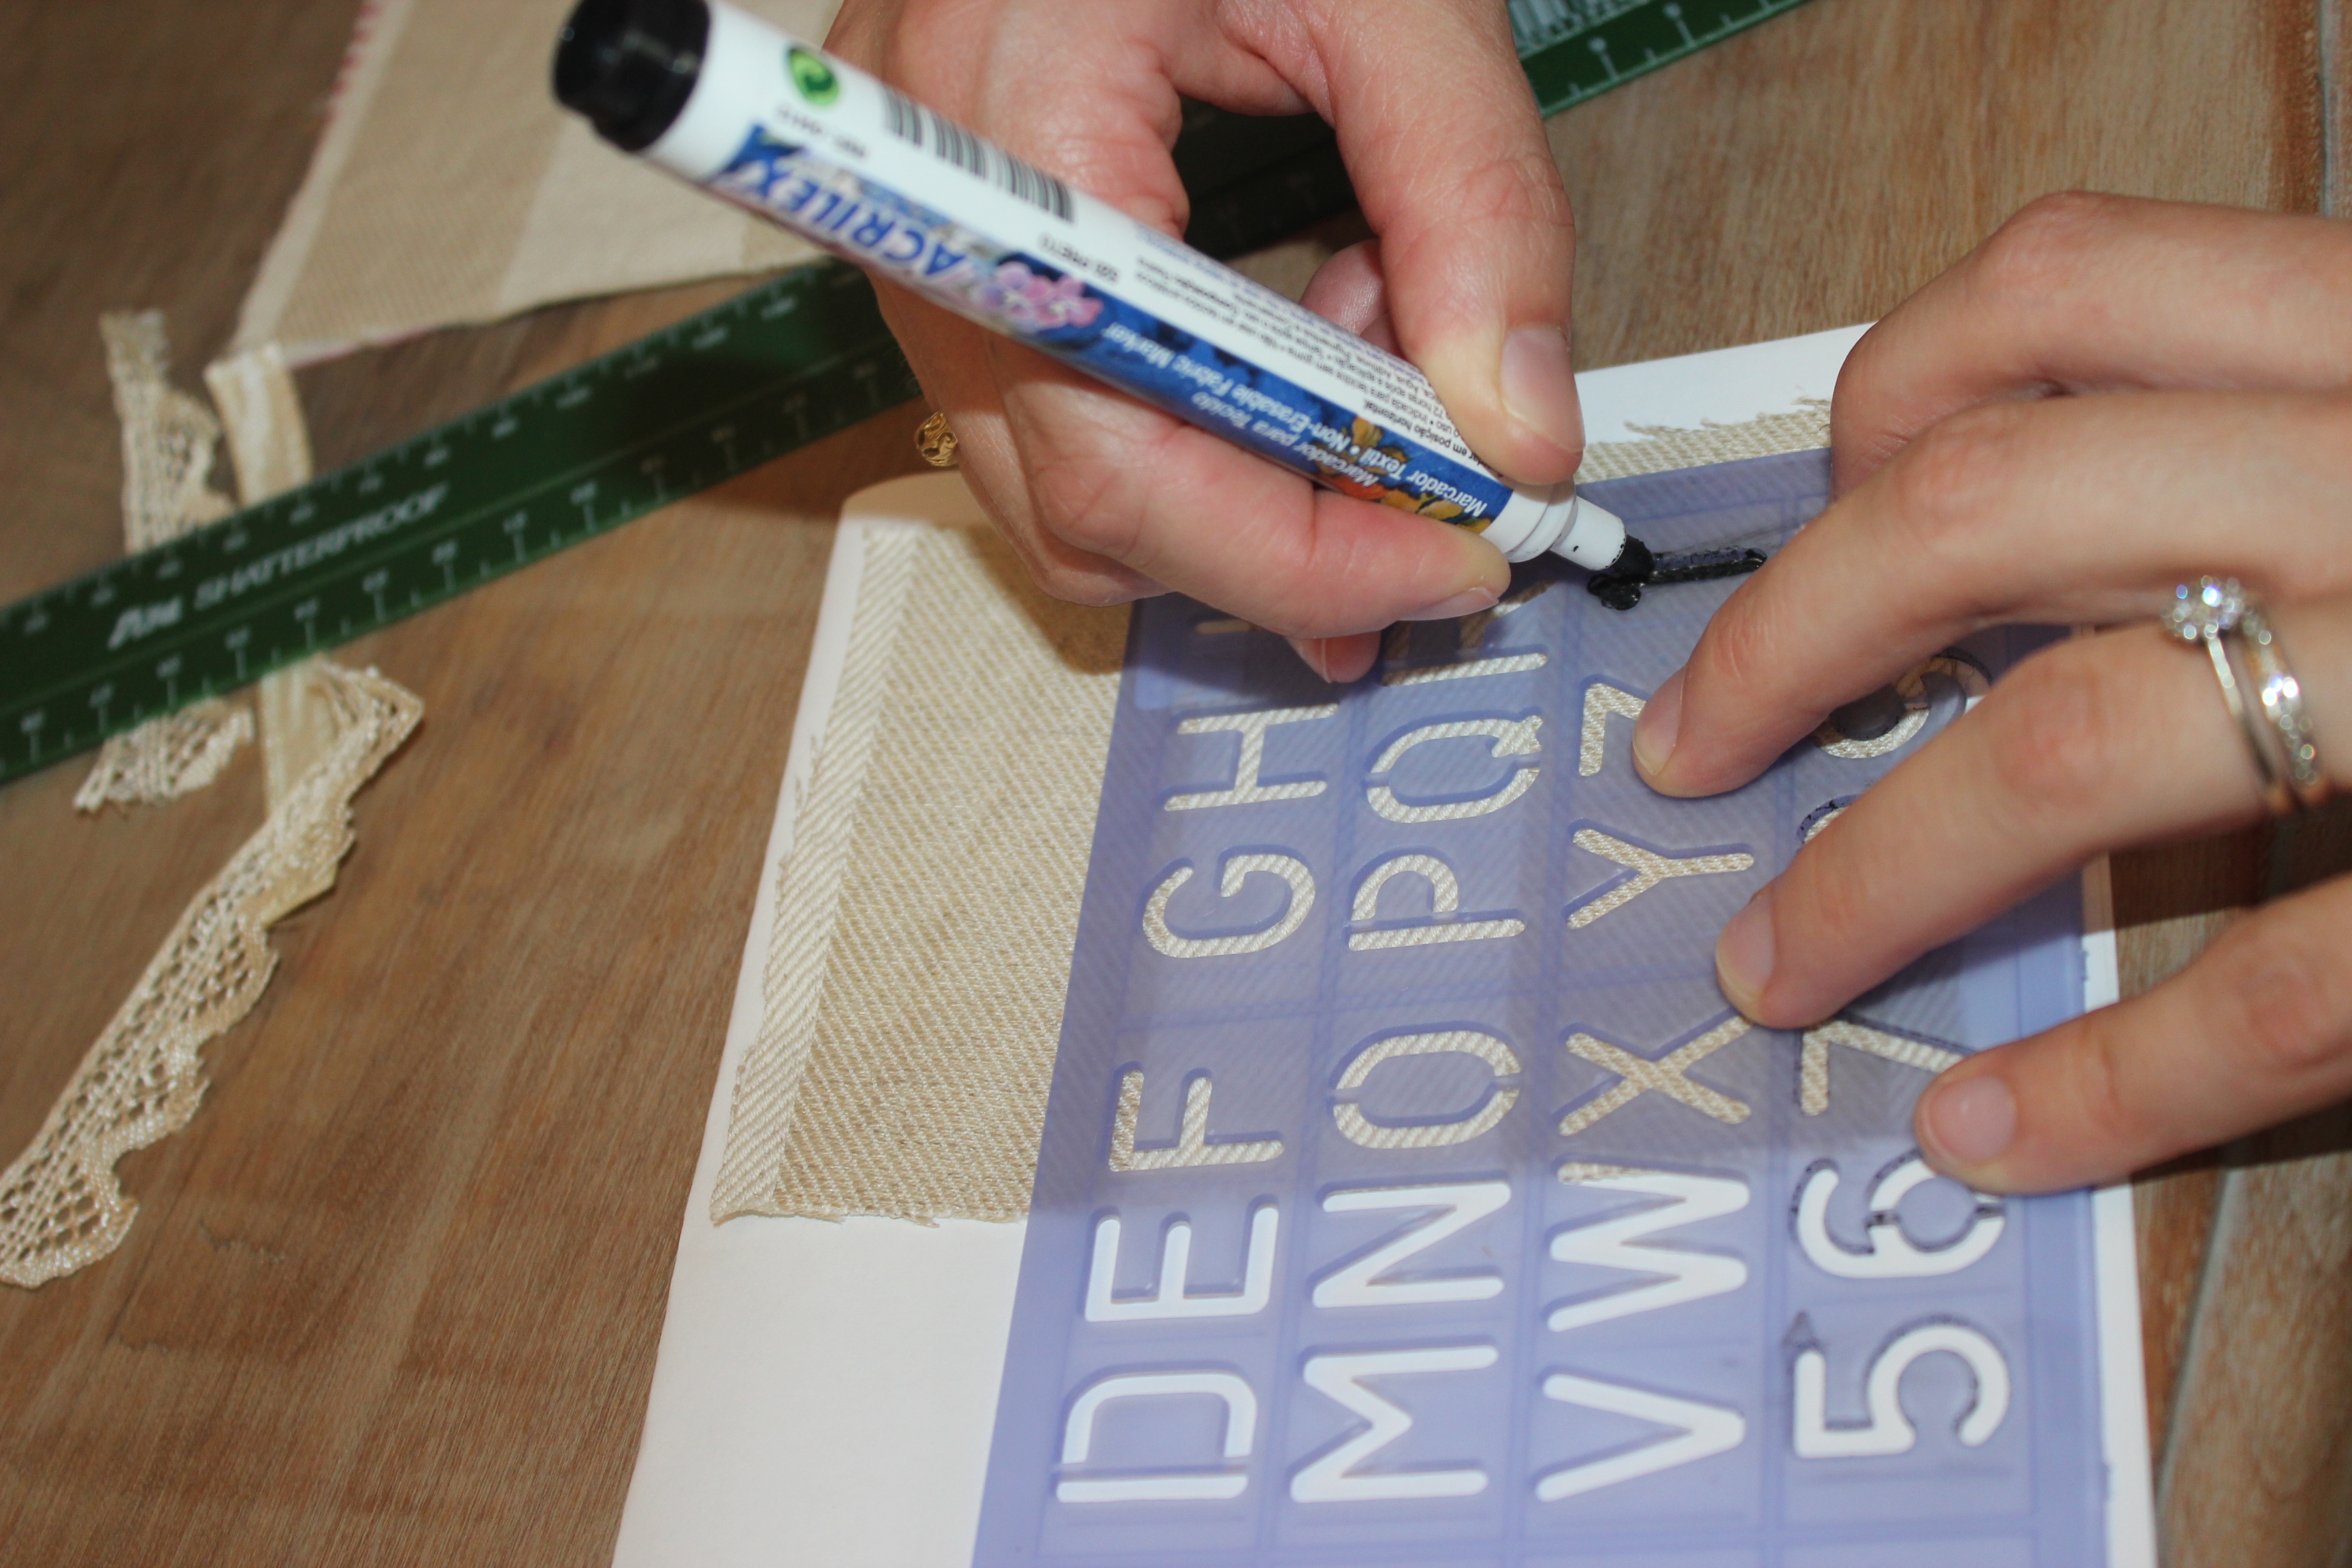
Iron if necessary (some fabric pens or paints need to be ironed so that the paint doesn’t come back out when you wash it).
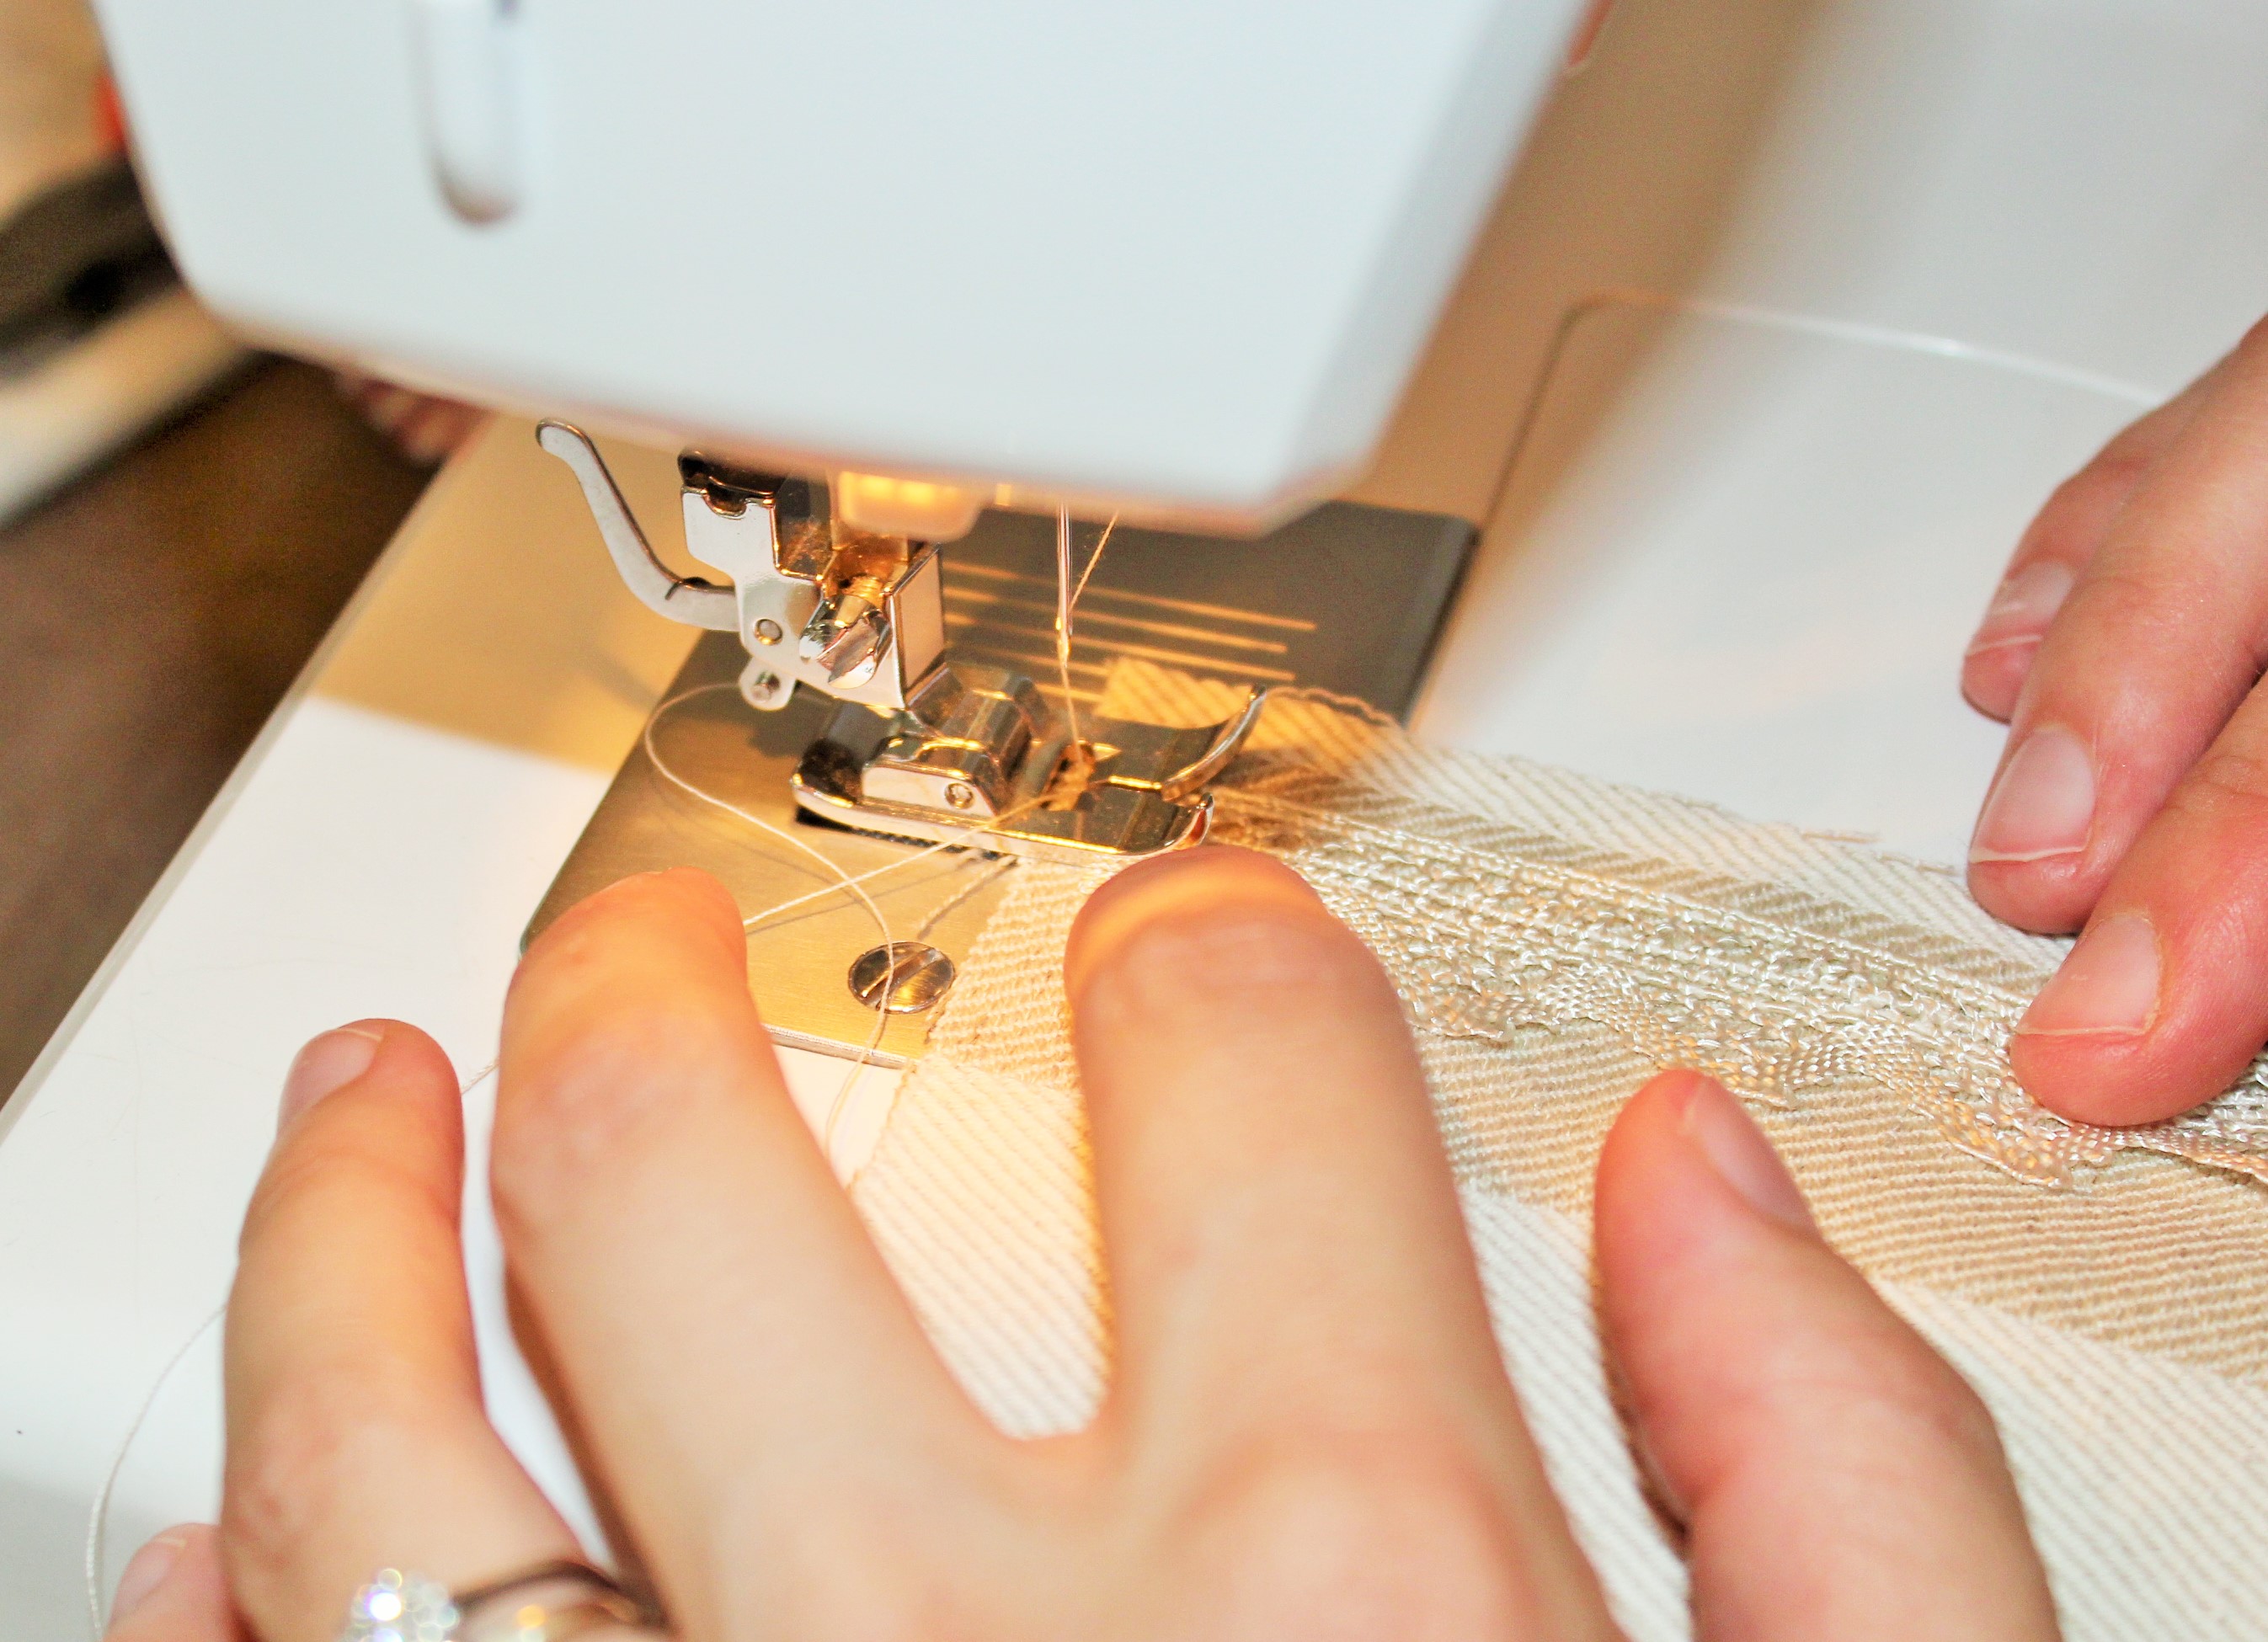
3. Sew your pieces of trim across your two main pieces of fabric, 1.2cm down from the top.
4. Lay the front main fabric piece (the one with the number on) in front of you, right side up. Fold your ribbon in half & place this 1.5cm (2cm for number 25) down from the top of the left hand side of the front main fabric piece, facing into the fabric, with the ends of the ribbon in line with the edge of the fabric. Now lay your back main fabric piece on top of this, so that right sides of the main fabric are touching. Pin & sew around the two long edges and the bottom of these pieces, using a 1cm seam, to make a pouch. Trim.
N.B. DO NOT trim the ribbon. I did this & found that the ribbon started to pull out of the seams when I hung the pockets up.
5. Do the same for the two lining pieces (but without the ribbon).
6. Turn the main fabric pouch right side out, and then place this inside the lining pouch. Right sides of the main pouch will be touching right sides of the lining pouch & the wrong side of the lining pouch will be outermost. Line up the seams, pin, then sew around the top with a 1cm seam, leaving a hole of around 3cm long.
7. To turn the pouch so that it is right side out, first bring the main fabric through the hole you’ve left, so that it is right side out. Then bring the lining fabric through the hole. Then put the lining back into the main fabric pouch. Press (with your iron).
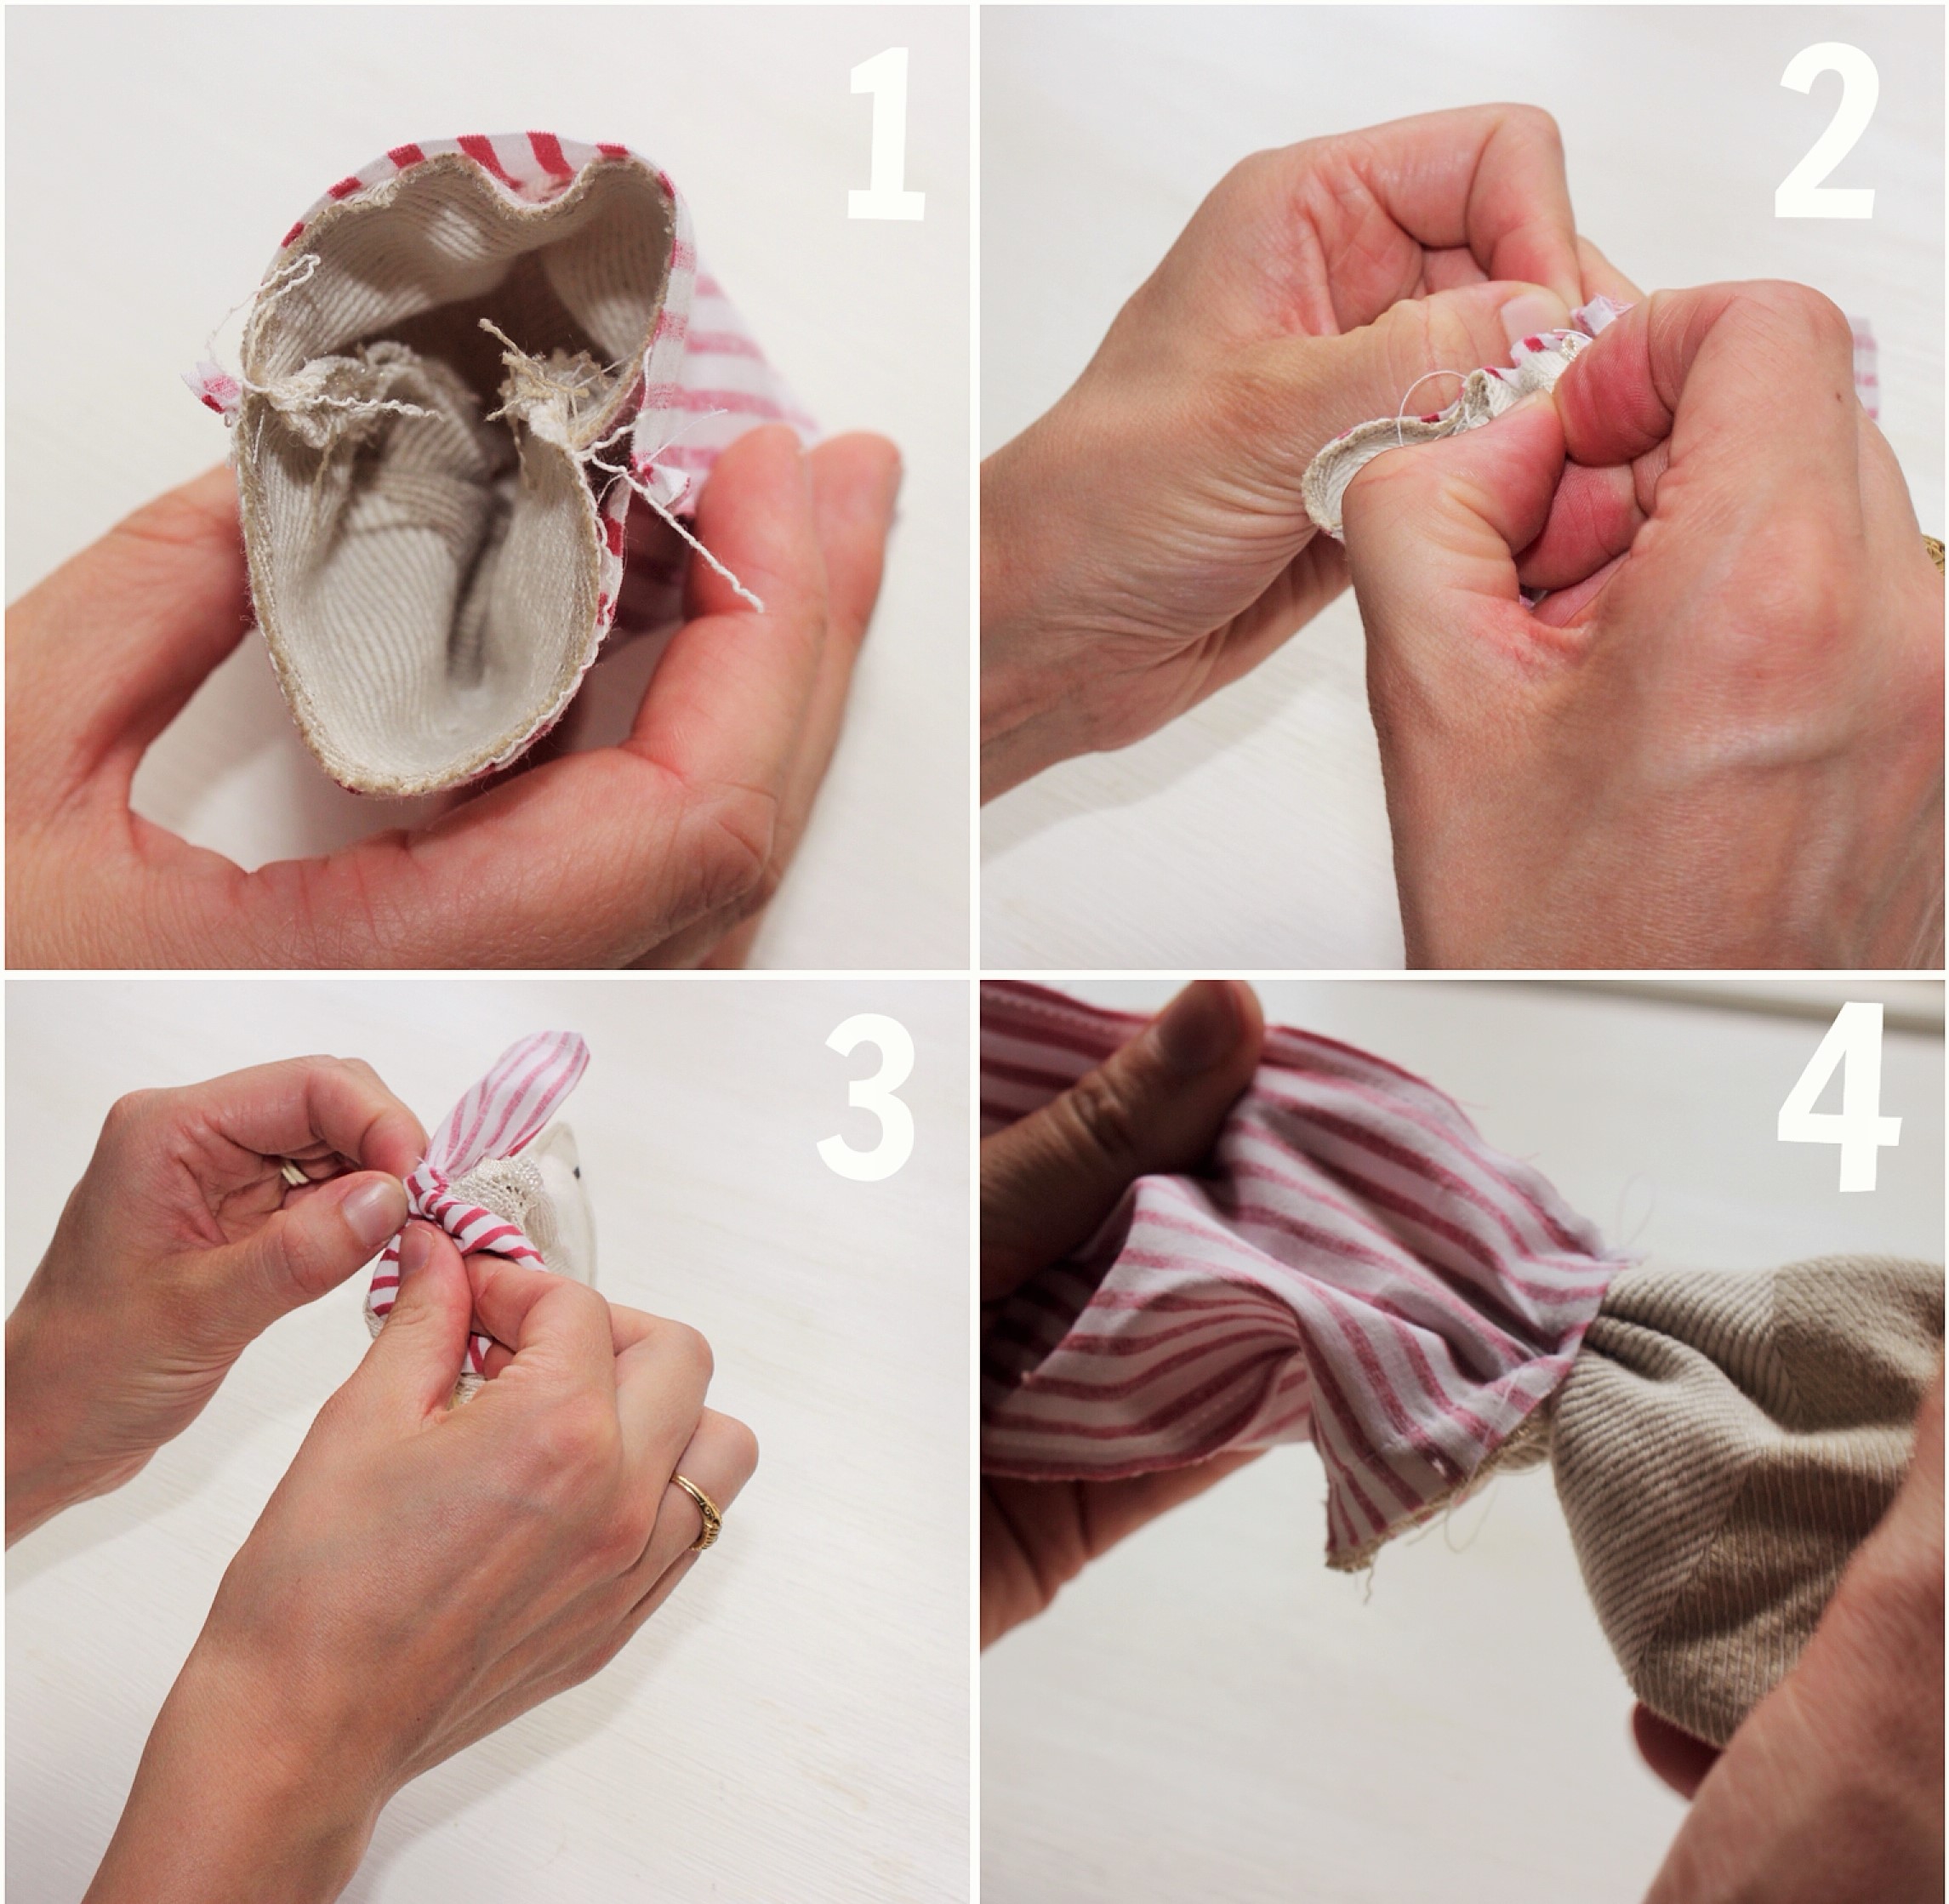
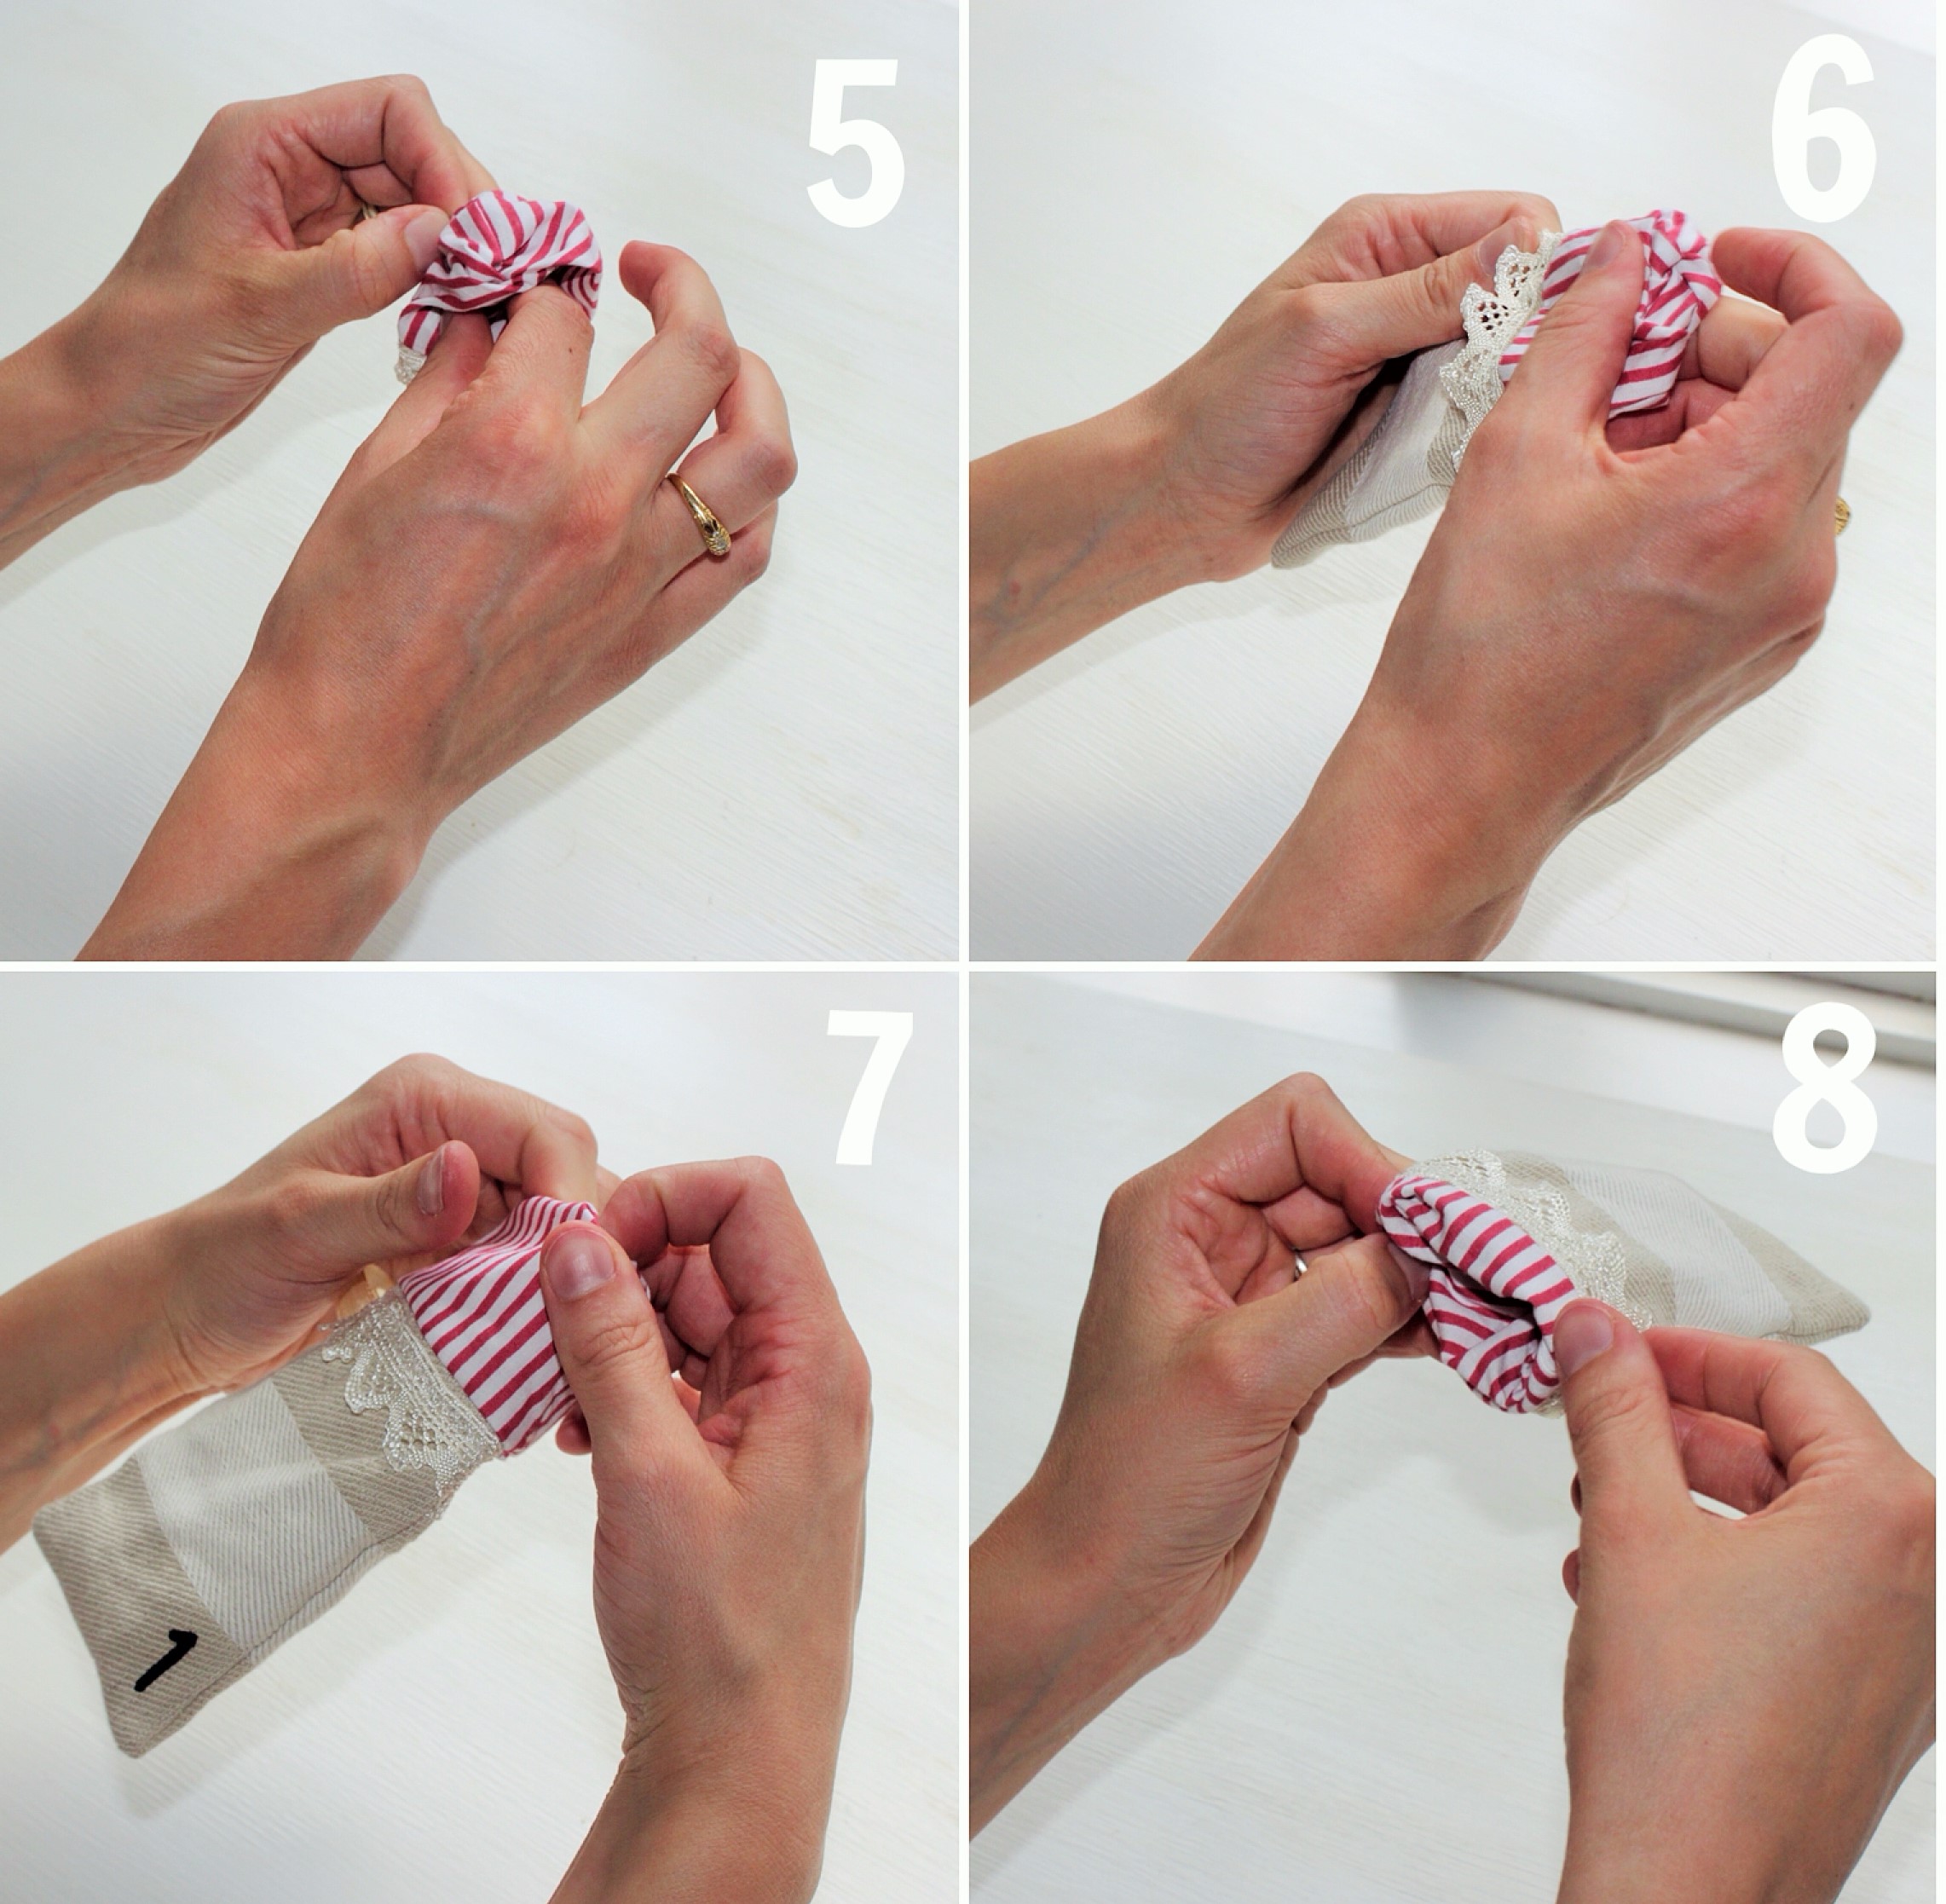
8. Sew the opening shut – you can either slipstitch this by hand, or just machine-sew a line of stitches a couple of millimeters down from the top edge of the pouch – slipstitch is neater, but if your hand sewing is as slow as mine then machine sewing is fine!
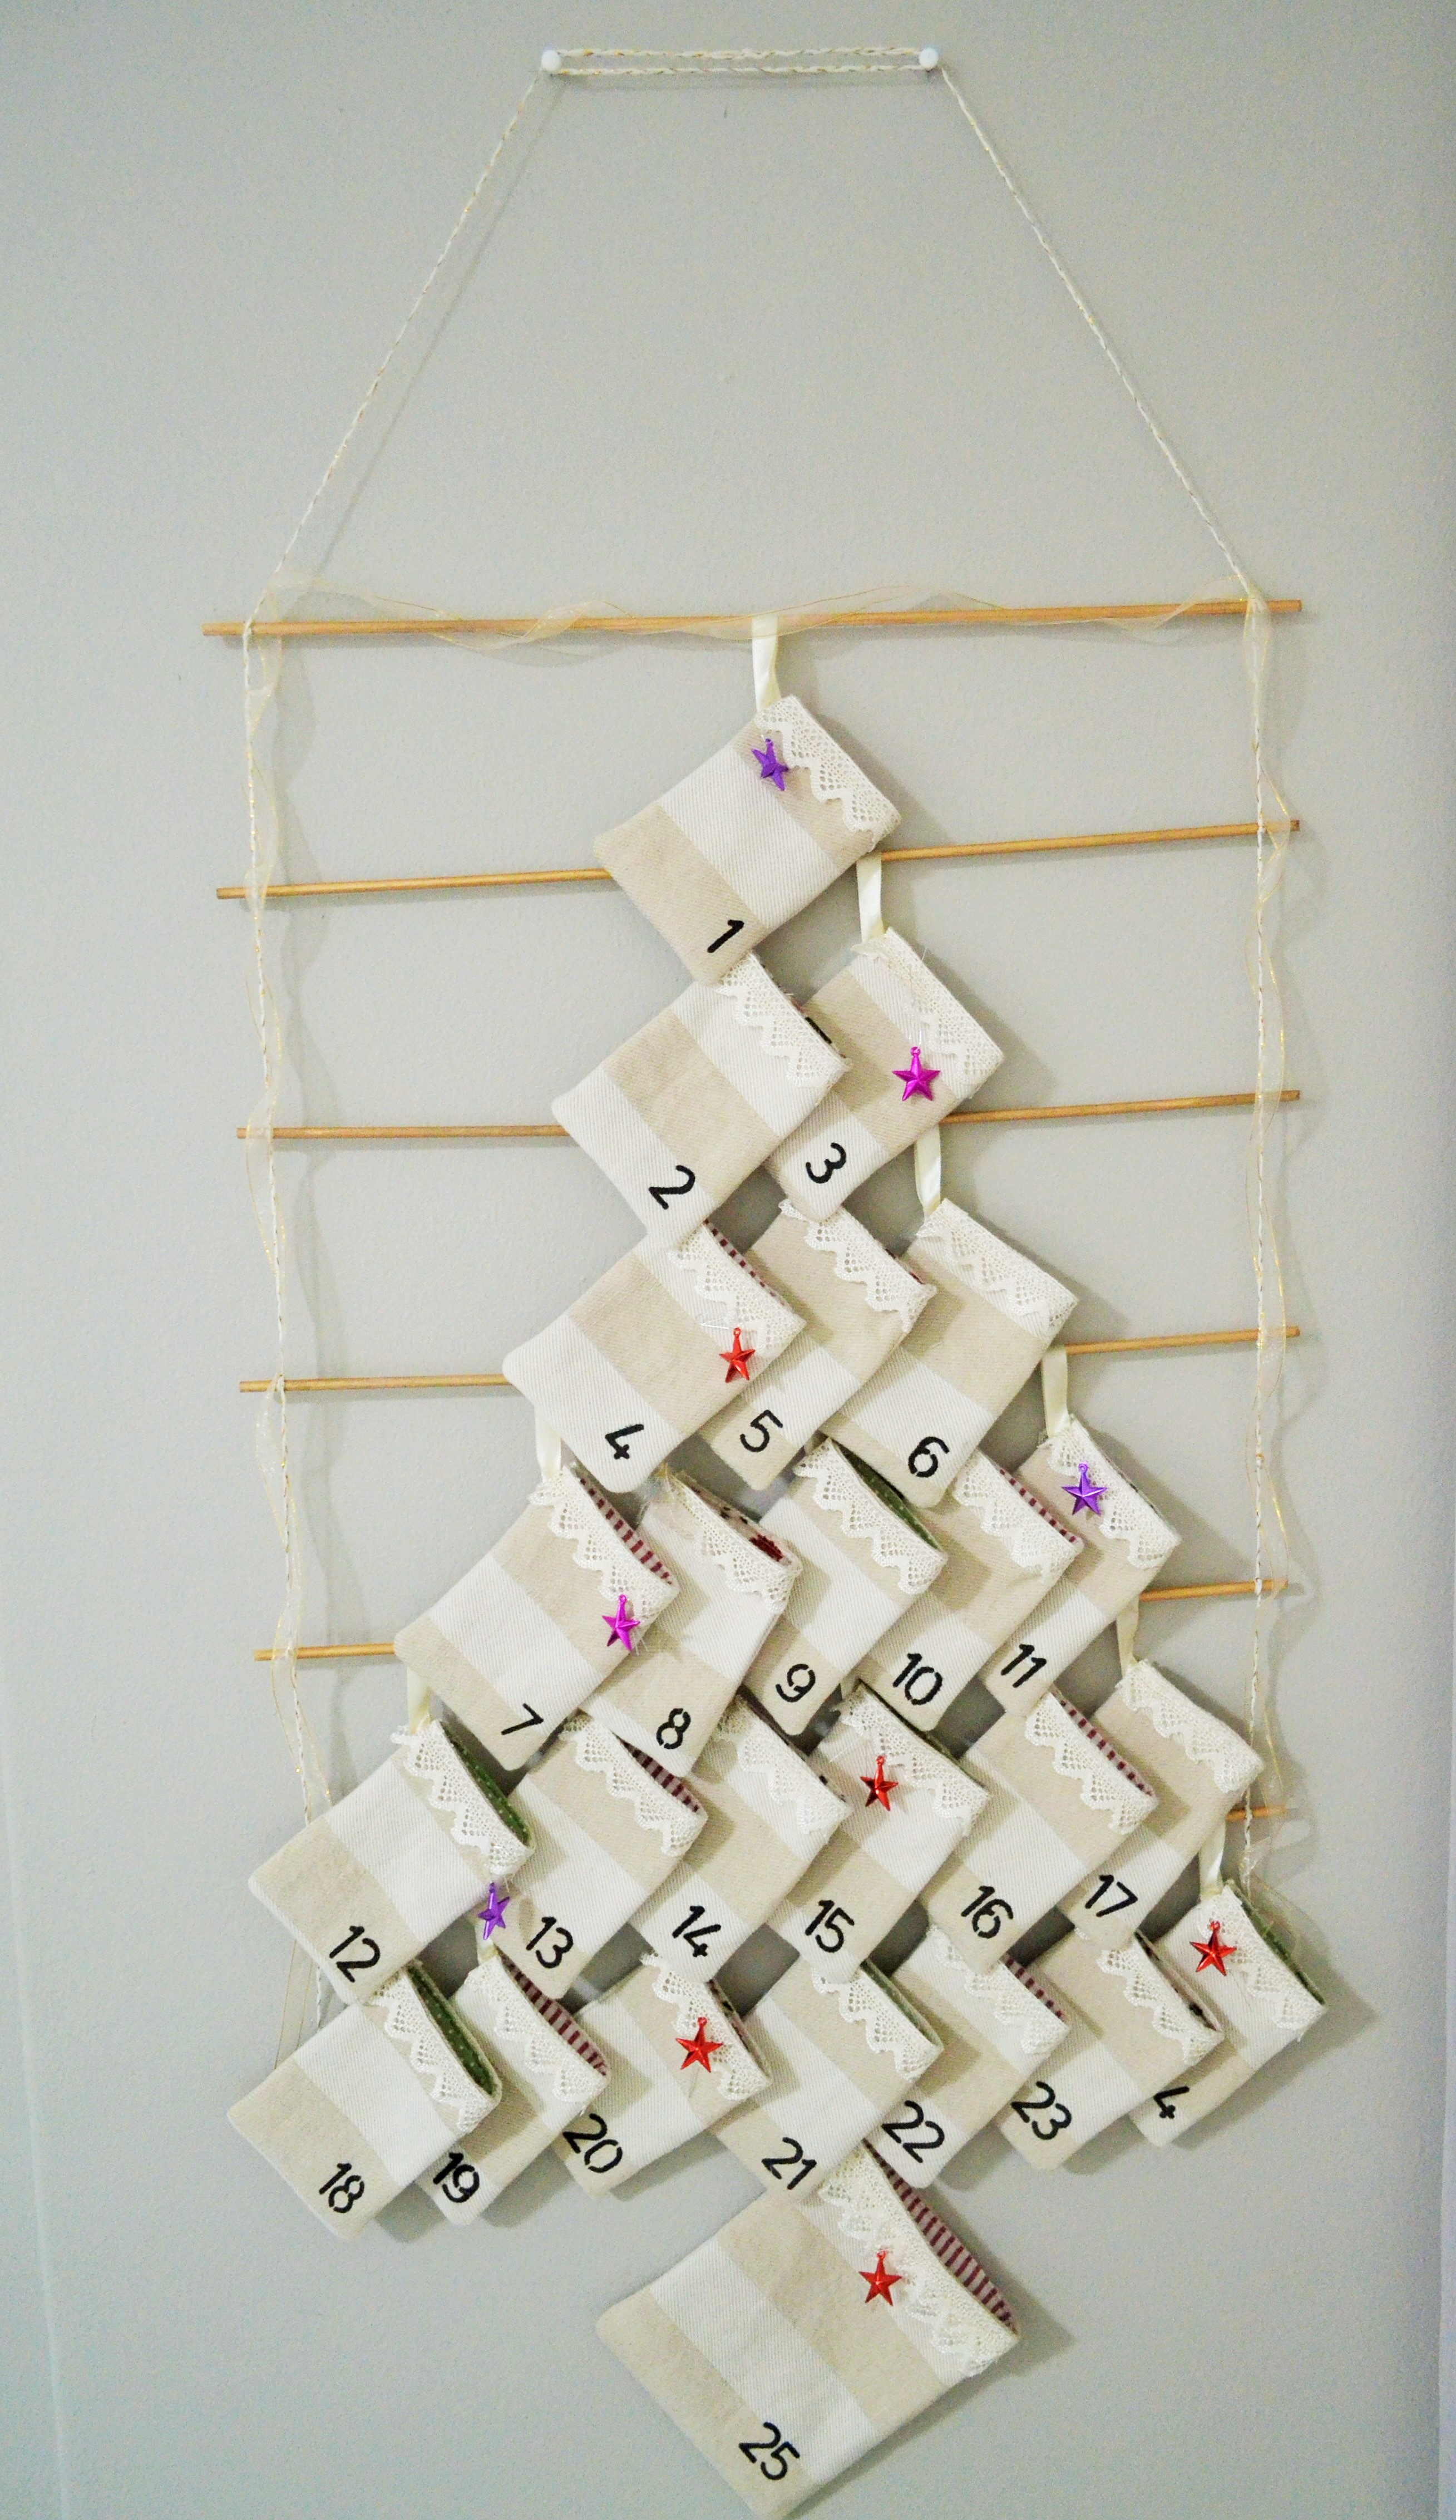
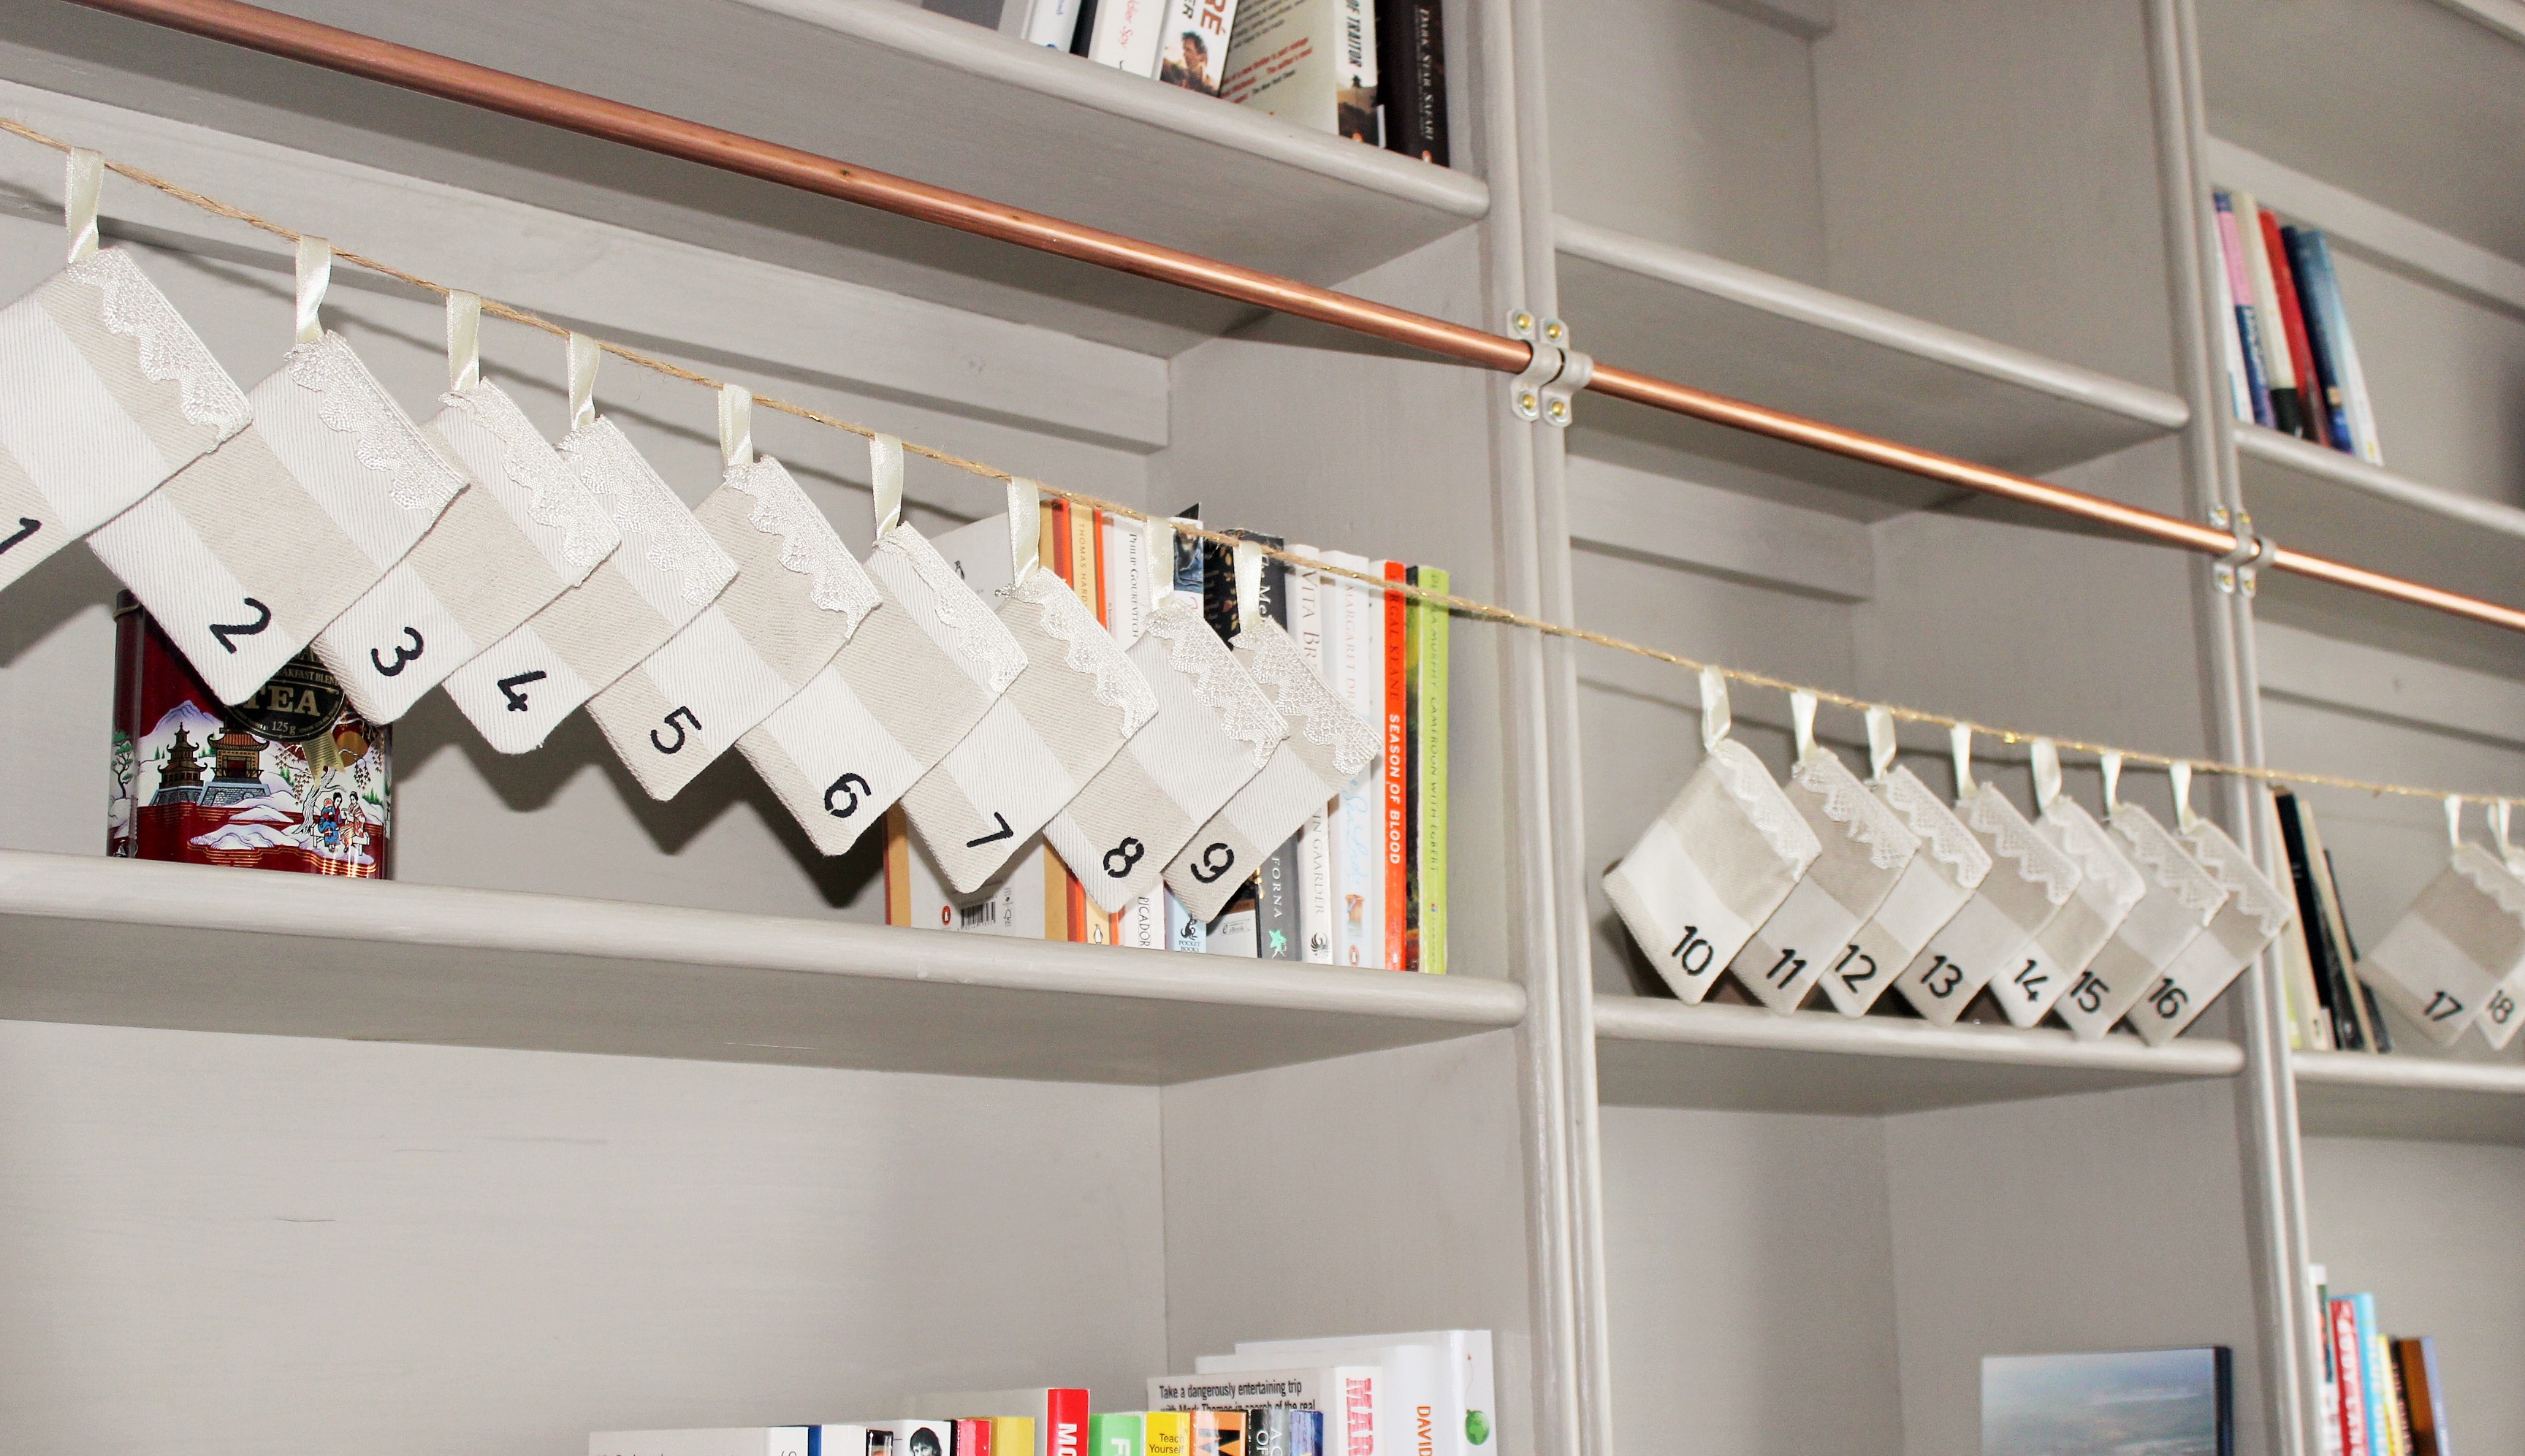
9. Display however you want! Some options:
The first was just to string all of the pouches up on one long piece of twine, ribbon, lace or whatever you have on hand & string this across a wall (or even a bookshelf, like in the picture).
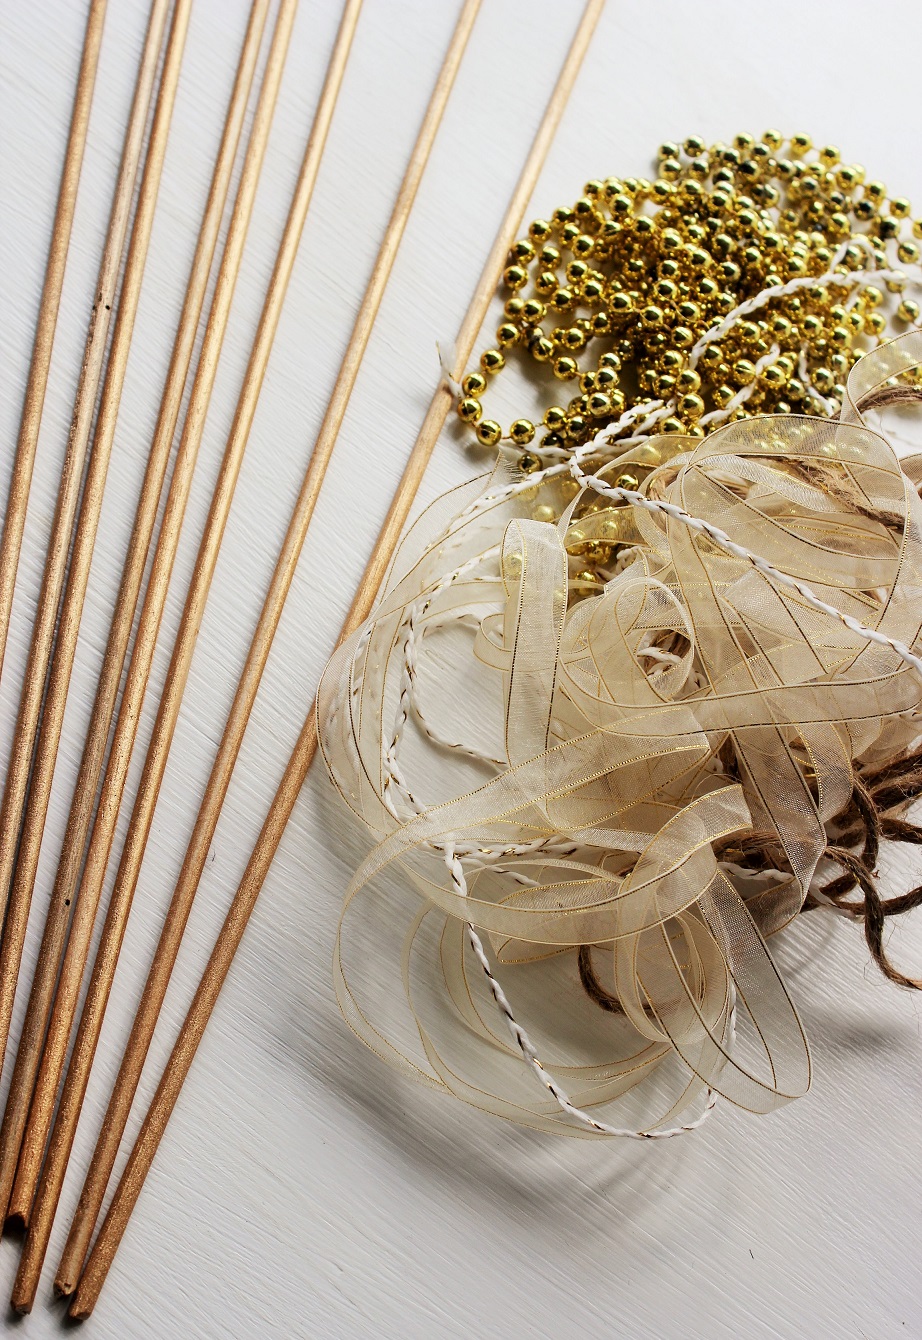
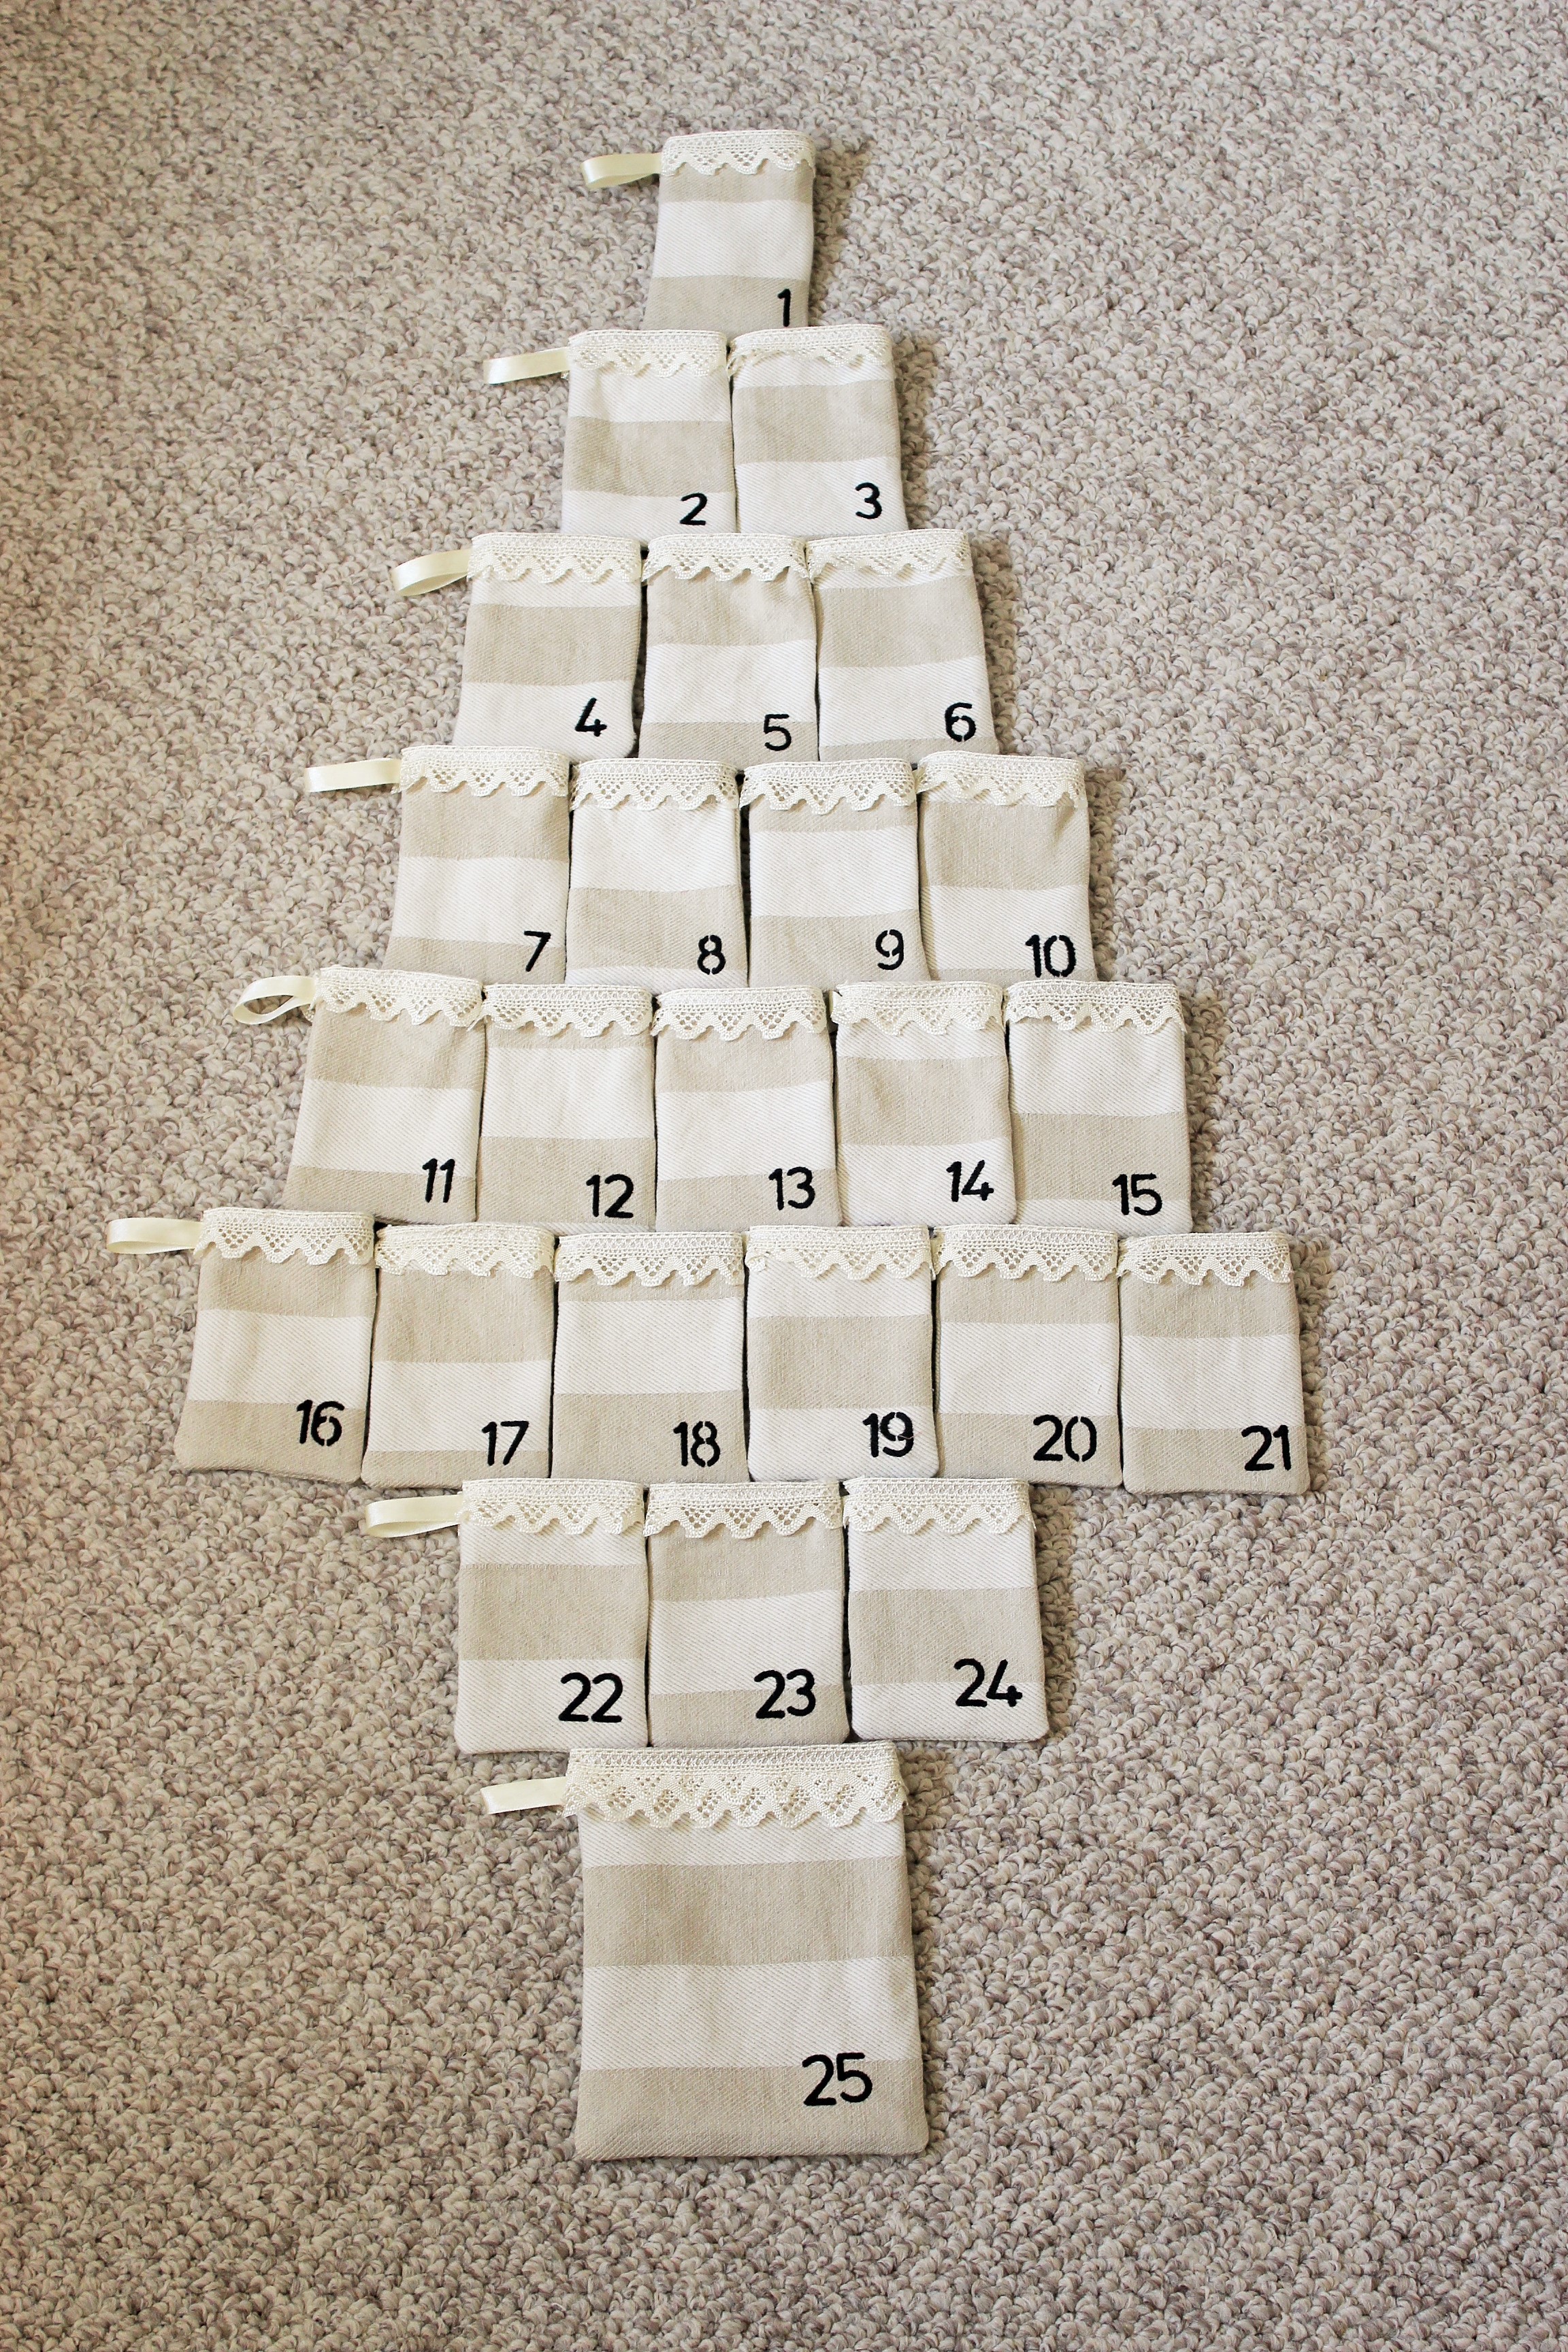
The second was to make the pouches into the shape of a Christmas tree, by putting 1, then 2, then 3 etc. pouches onto pieces of dowelling spray-painted gold. I then connected the dowelling with twine and hung this up on the wall.
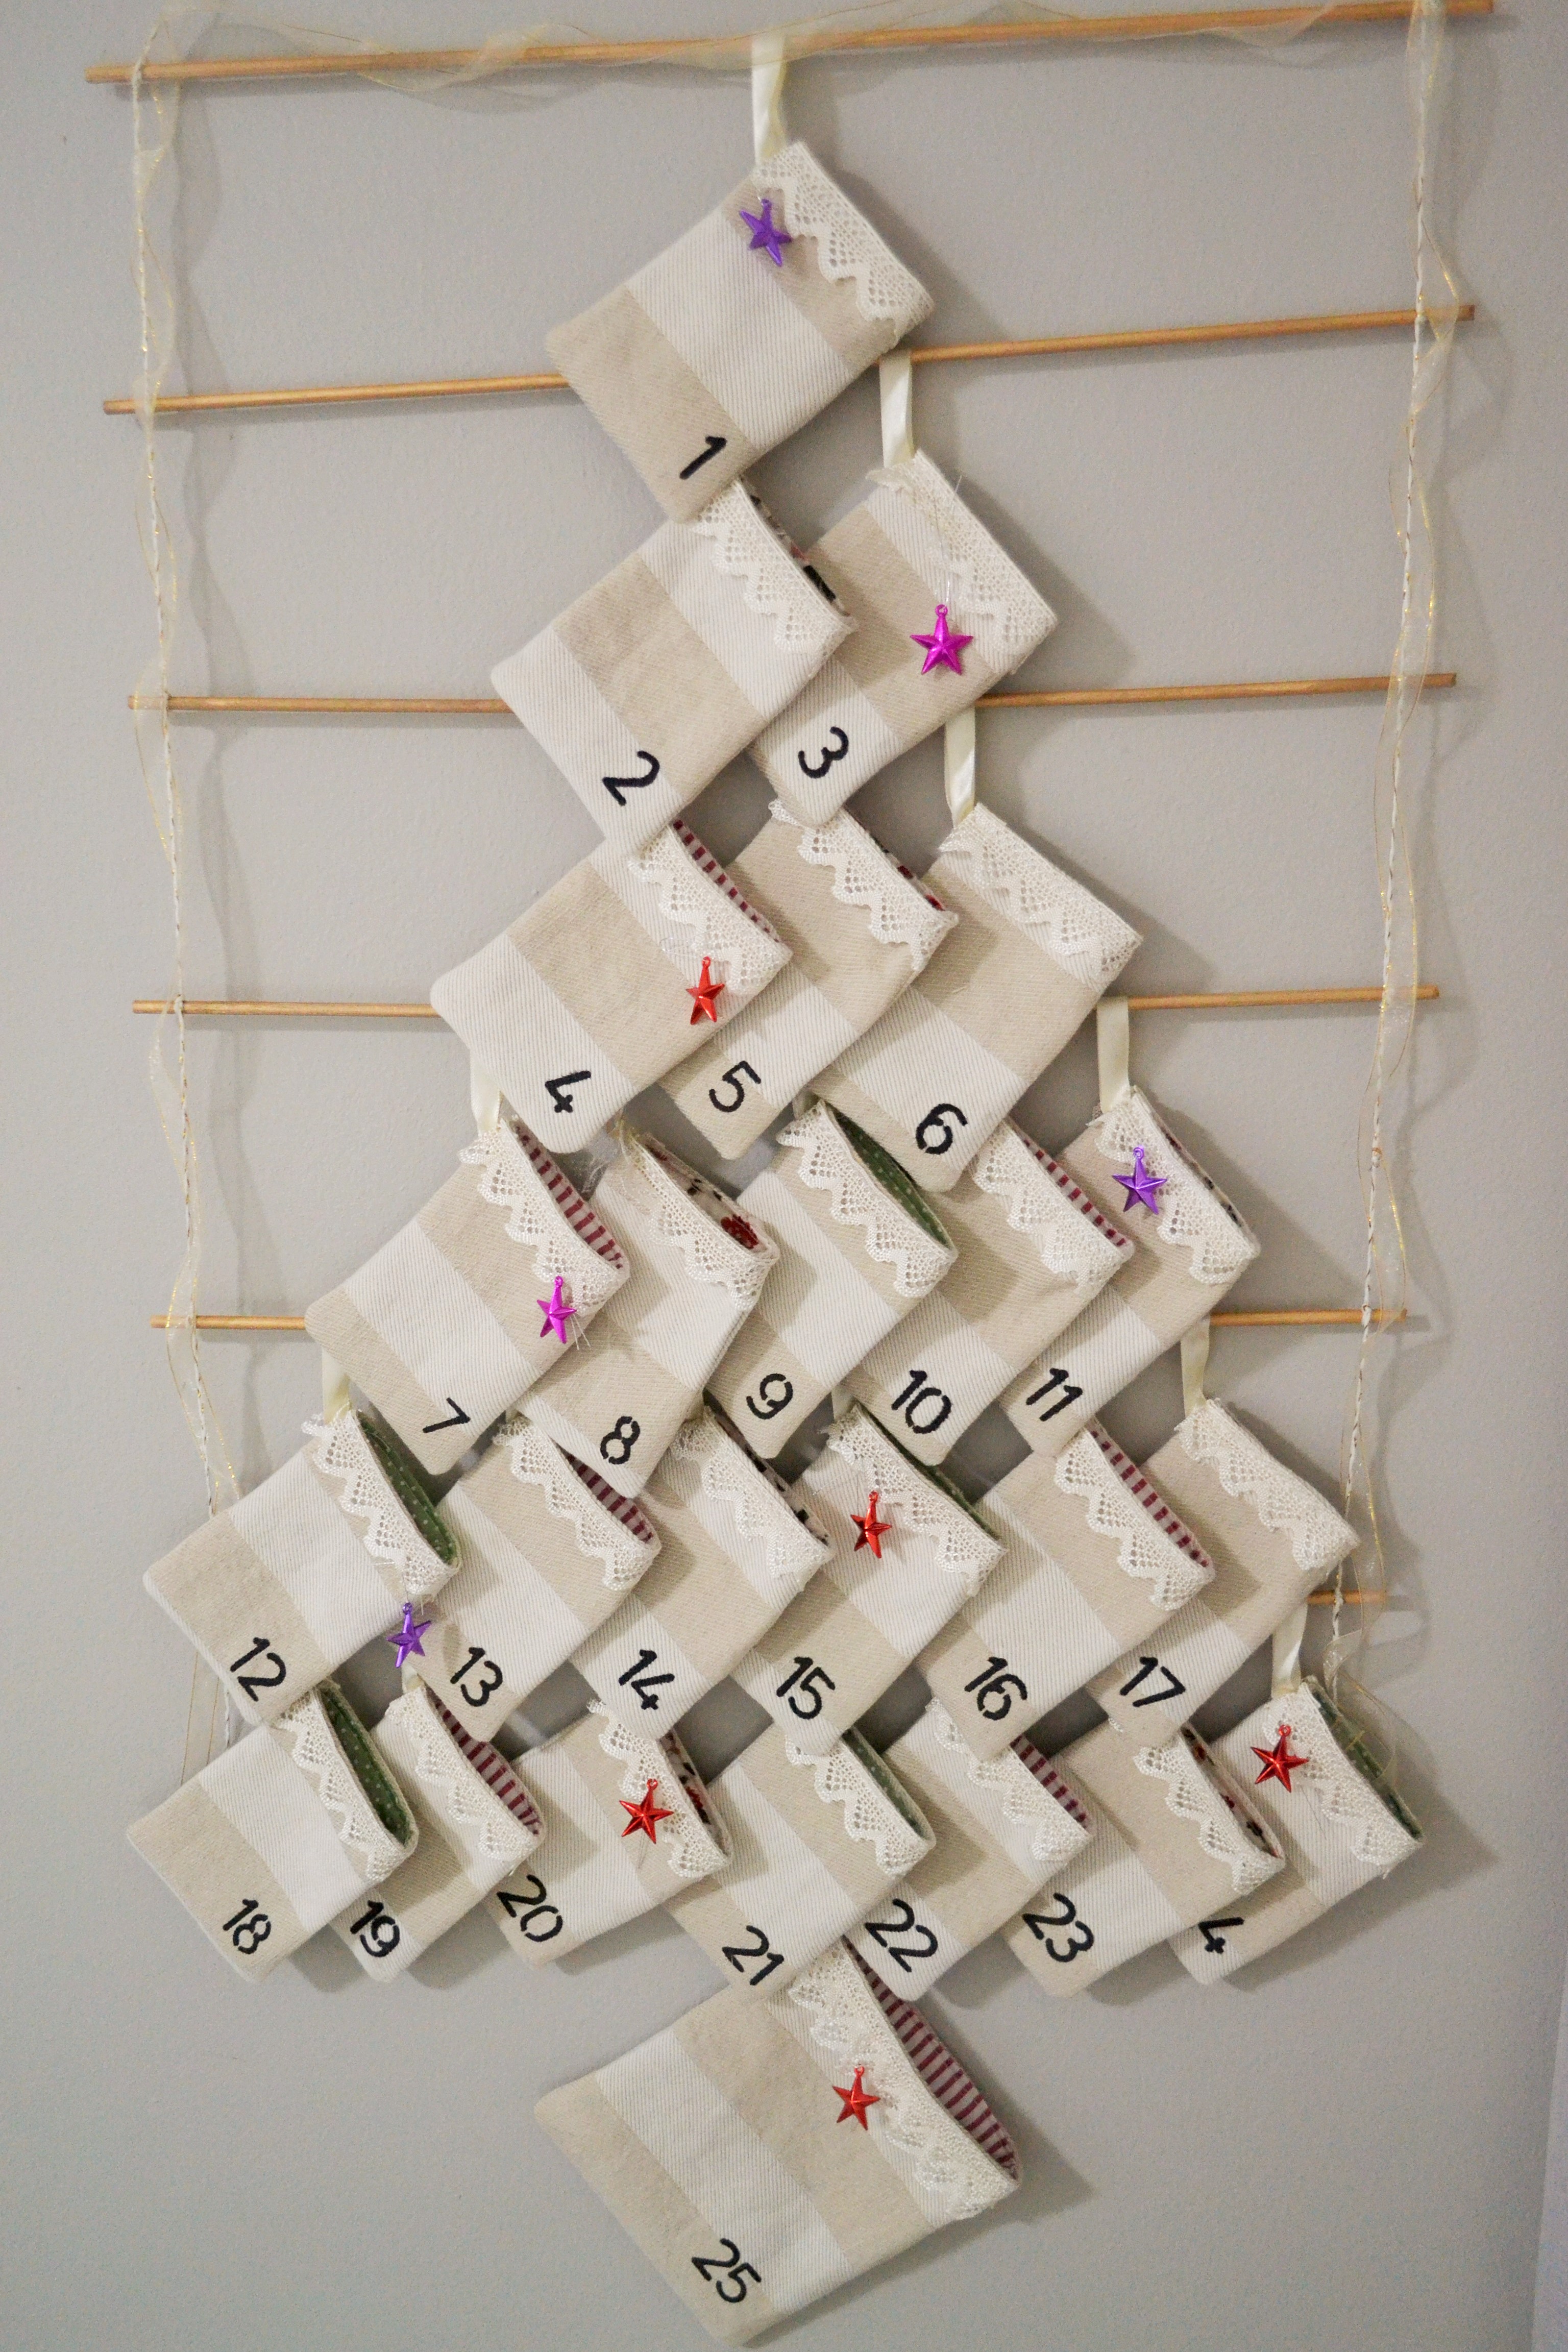
Says Eleanor: “The nice thing about this project is how many options you have – you can make your pockets any size you want (or make them in a variety of different sizes), line them with just one lining fabric or 25 different ones (or if you want a quicker project, there’s no need to line them at all), add trim, buttons, sequins… & display your calendar in any number of creative ways (Pinterest has lots of ideas!).”
I hope you’re inspired now! Bye for now.
Yolandi ♥
Contributor: Eleanor North; Photography: Eleanor North & me.
beautiful!
agreed! x